Creating Automated Surveys
Written By Angela L
Last updated About 1 year ago
Surveys will allow you to automatically send out a pre-designed/written survey via email to a customer based on a specific action your customer has taken (ie, purchased a product, refunded, canceled, etc.)
Step 1: Creating a Survey
Step 1: Creating a Survey
Click on Surveys in the left-hand navigation Tools menu.
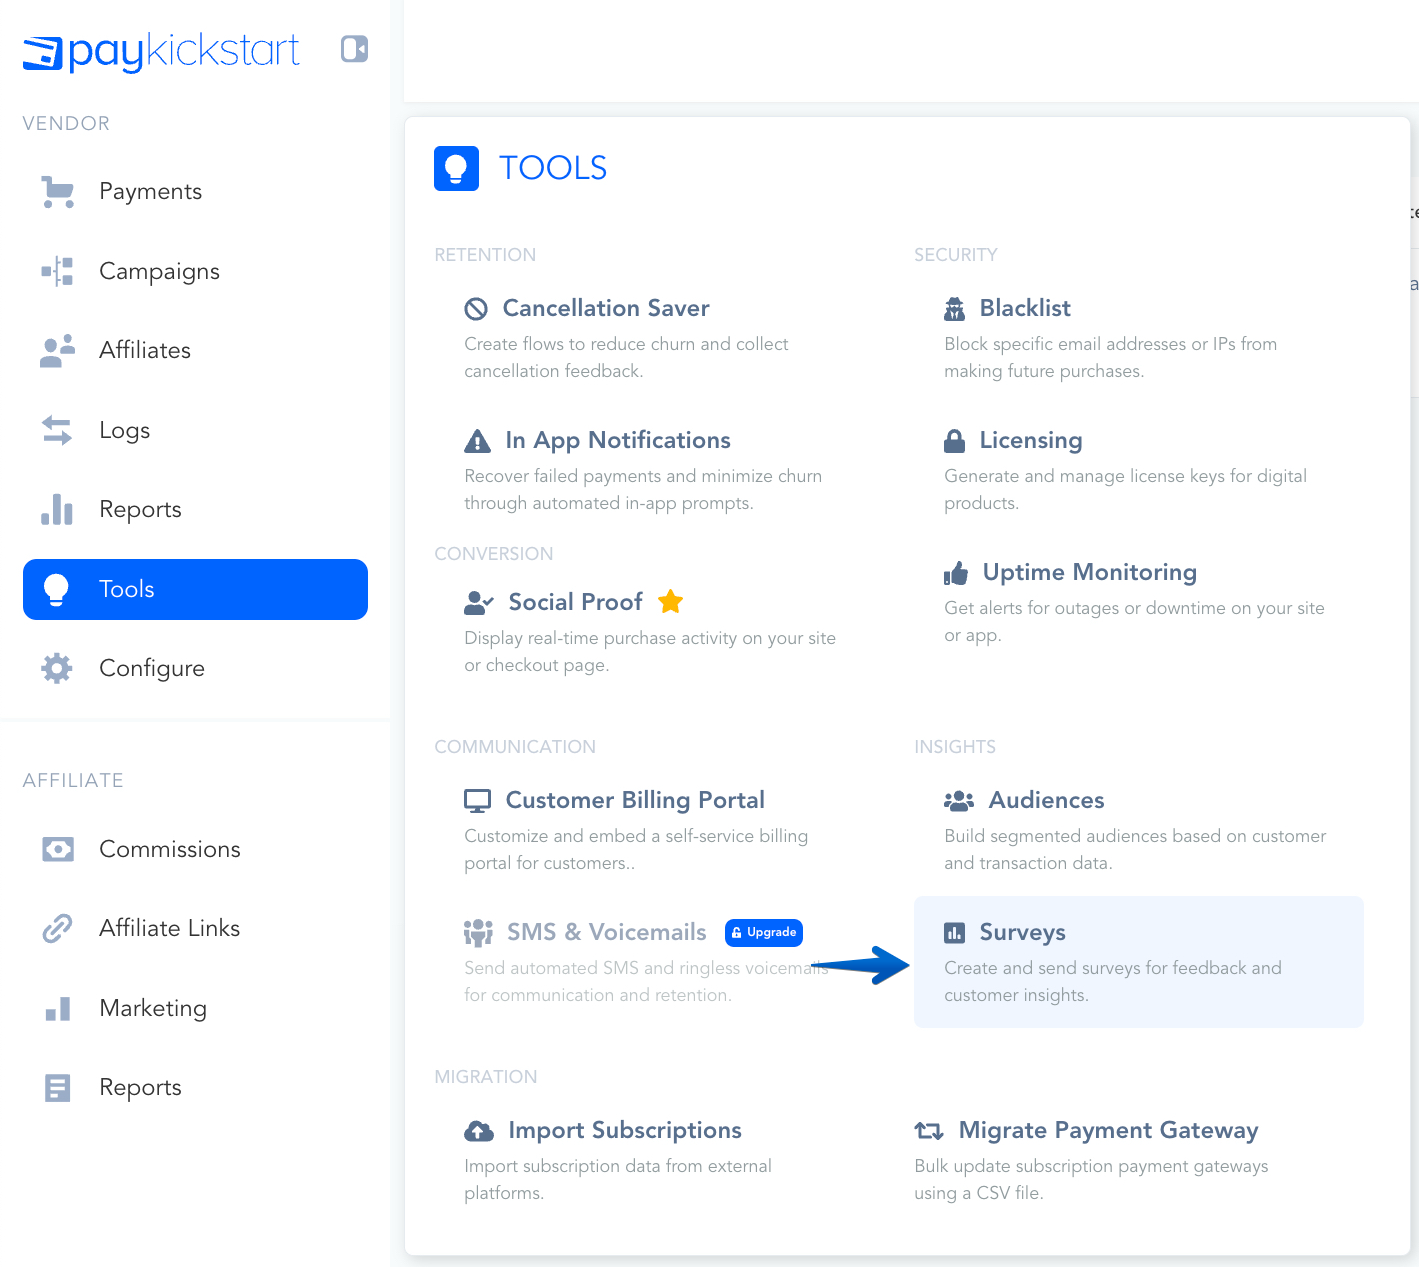
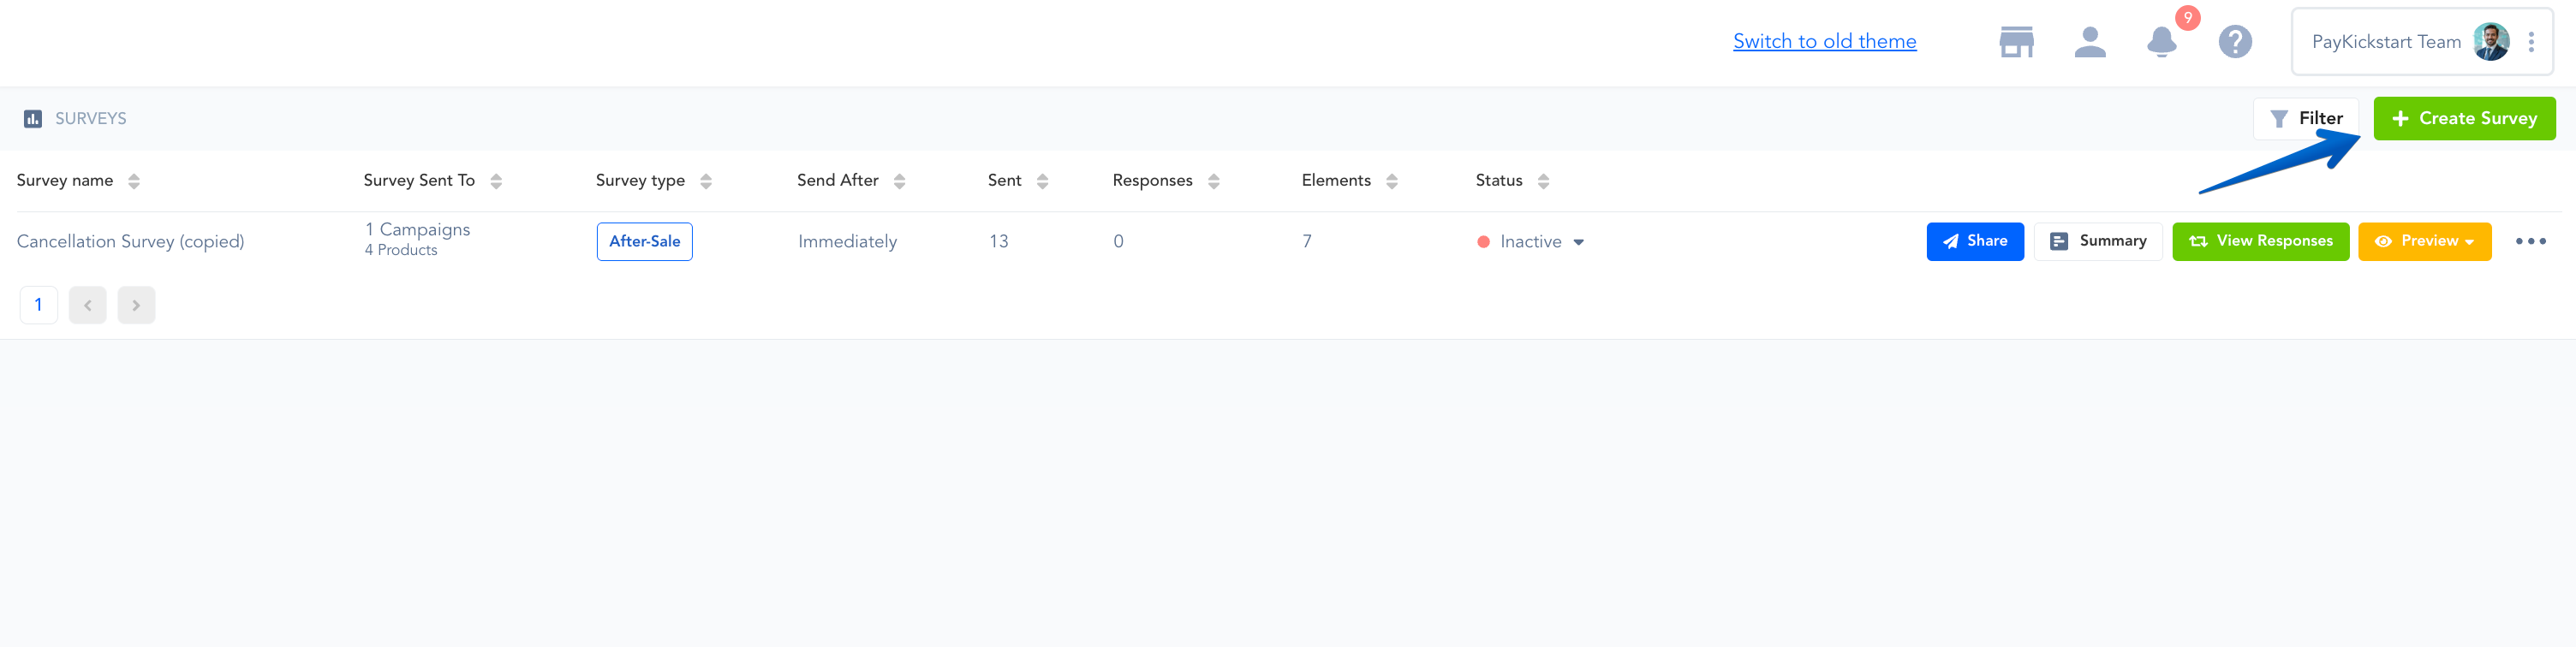
Then, click the Create Survey button.
You will then be taken into the Survey Builder.
Step 2: Form Settings
Step 2: Form Settings
CREATE NEW OR CHOOSE EXISTING: You can create a new template or use an existing survey template.
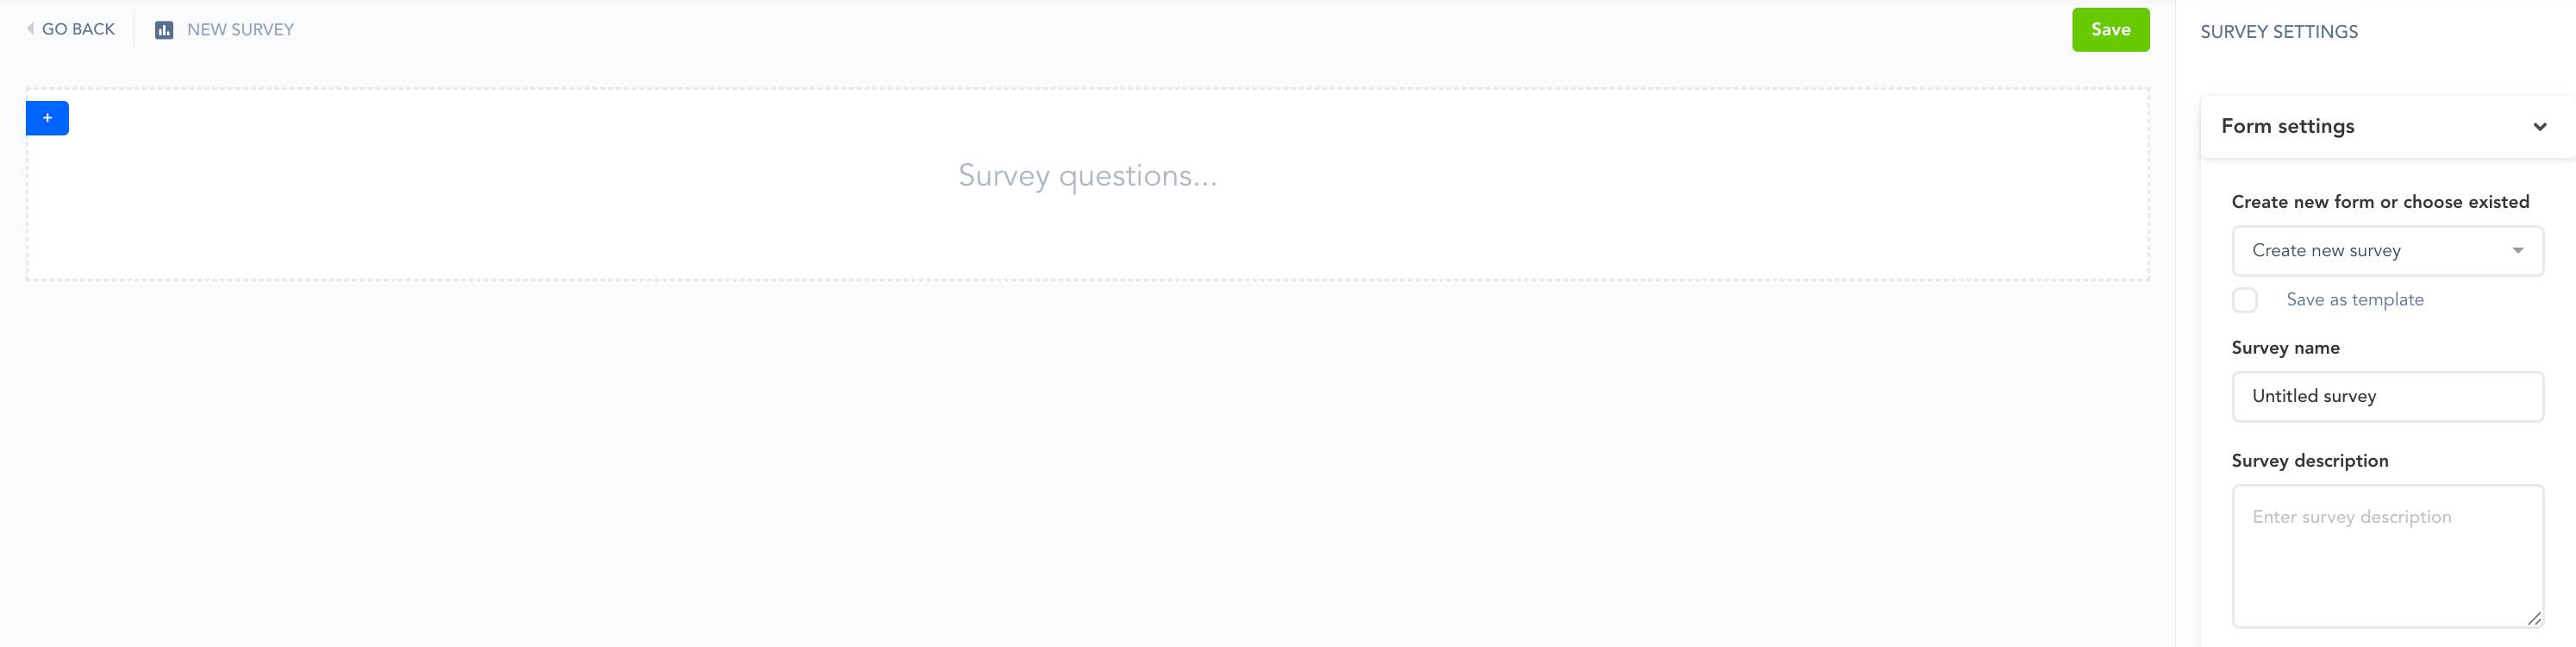
On the right navigation, you will see Survey customization options like providing a Survey name, description, template color, and user experience settings.
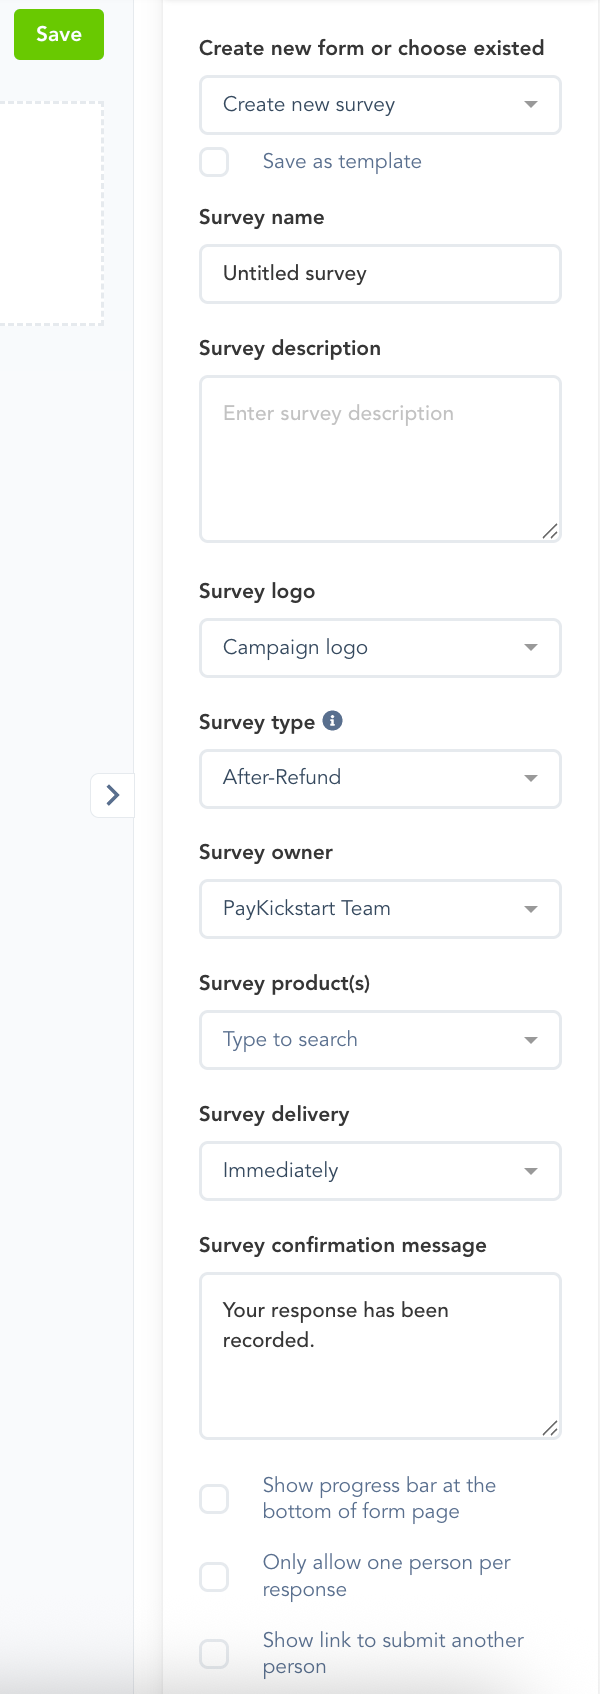
SURVEY NAME: The display name to help you identify the specific survey template.
SURVEY DESCRIPTION: A short description to help you identify what the survey is used for.
Logo: Use campaign logo or logo from platform settings.
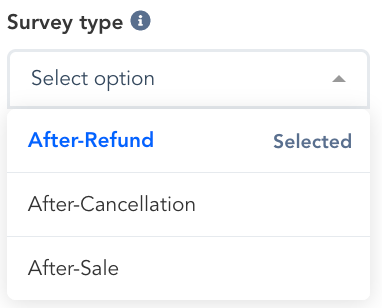
SURVEY TYPE: When will the survey be sent? After a refund, sale, or cancellation.
SELECT OWNER: If you provide access to sub-users, you can choose which users have access to the specific survey form.
SELECT PRODUCT: Choose the product(s) you want to associate the survey with. You can select 1 or multiple products.

SURVEY DELIVERY: Choose when the survey should be delivered.
Select the product this survey applies to and how many hours/days/weeks/months it should get sent based on a purchase/refund/cancellation.

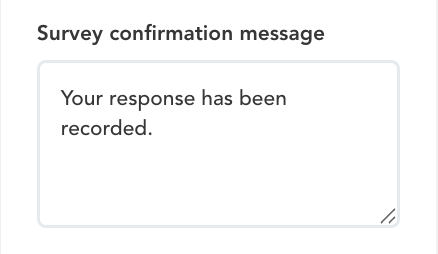
CONFIRMATION MESSAGE: The message that is shown to the customer after they complete the survey.
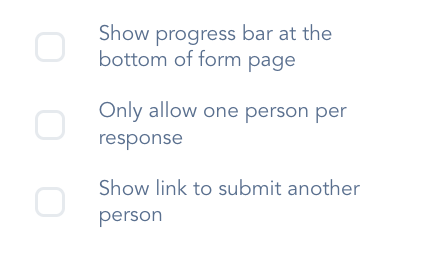
SHOW PROGRESS BAR AT THE BOTTOM OF FORM PAGES: This allows you to enable a progress bar for customers.
ONLY ALLOW ONE RESPONSE PER PERSON: Will block duplicate surveys from the same customer email.
SHOW LINK TO SUBMIT ANOTHER RESPONSE: Allows the customer to submit more than one response.
Step 3: Survey Builder
Step 3: Survey Builder
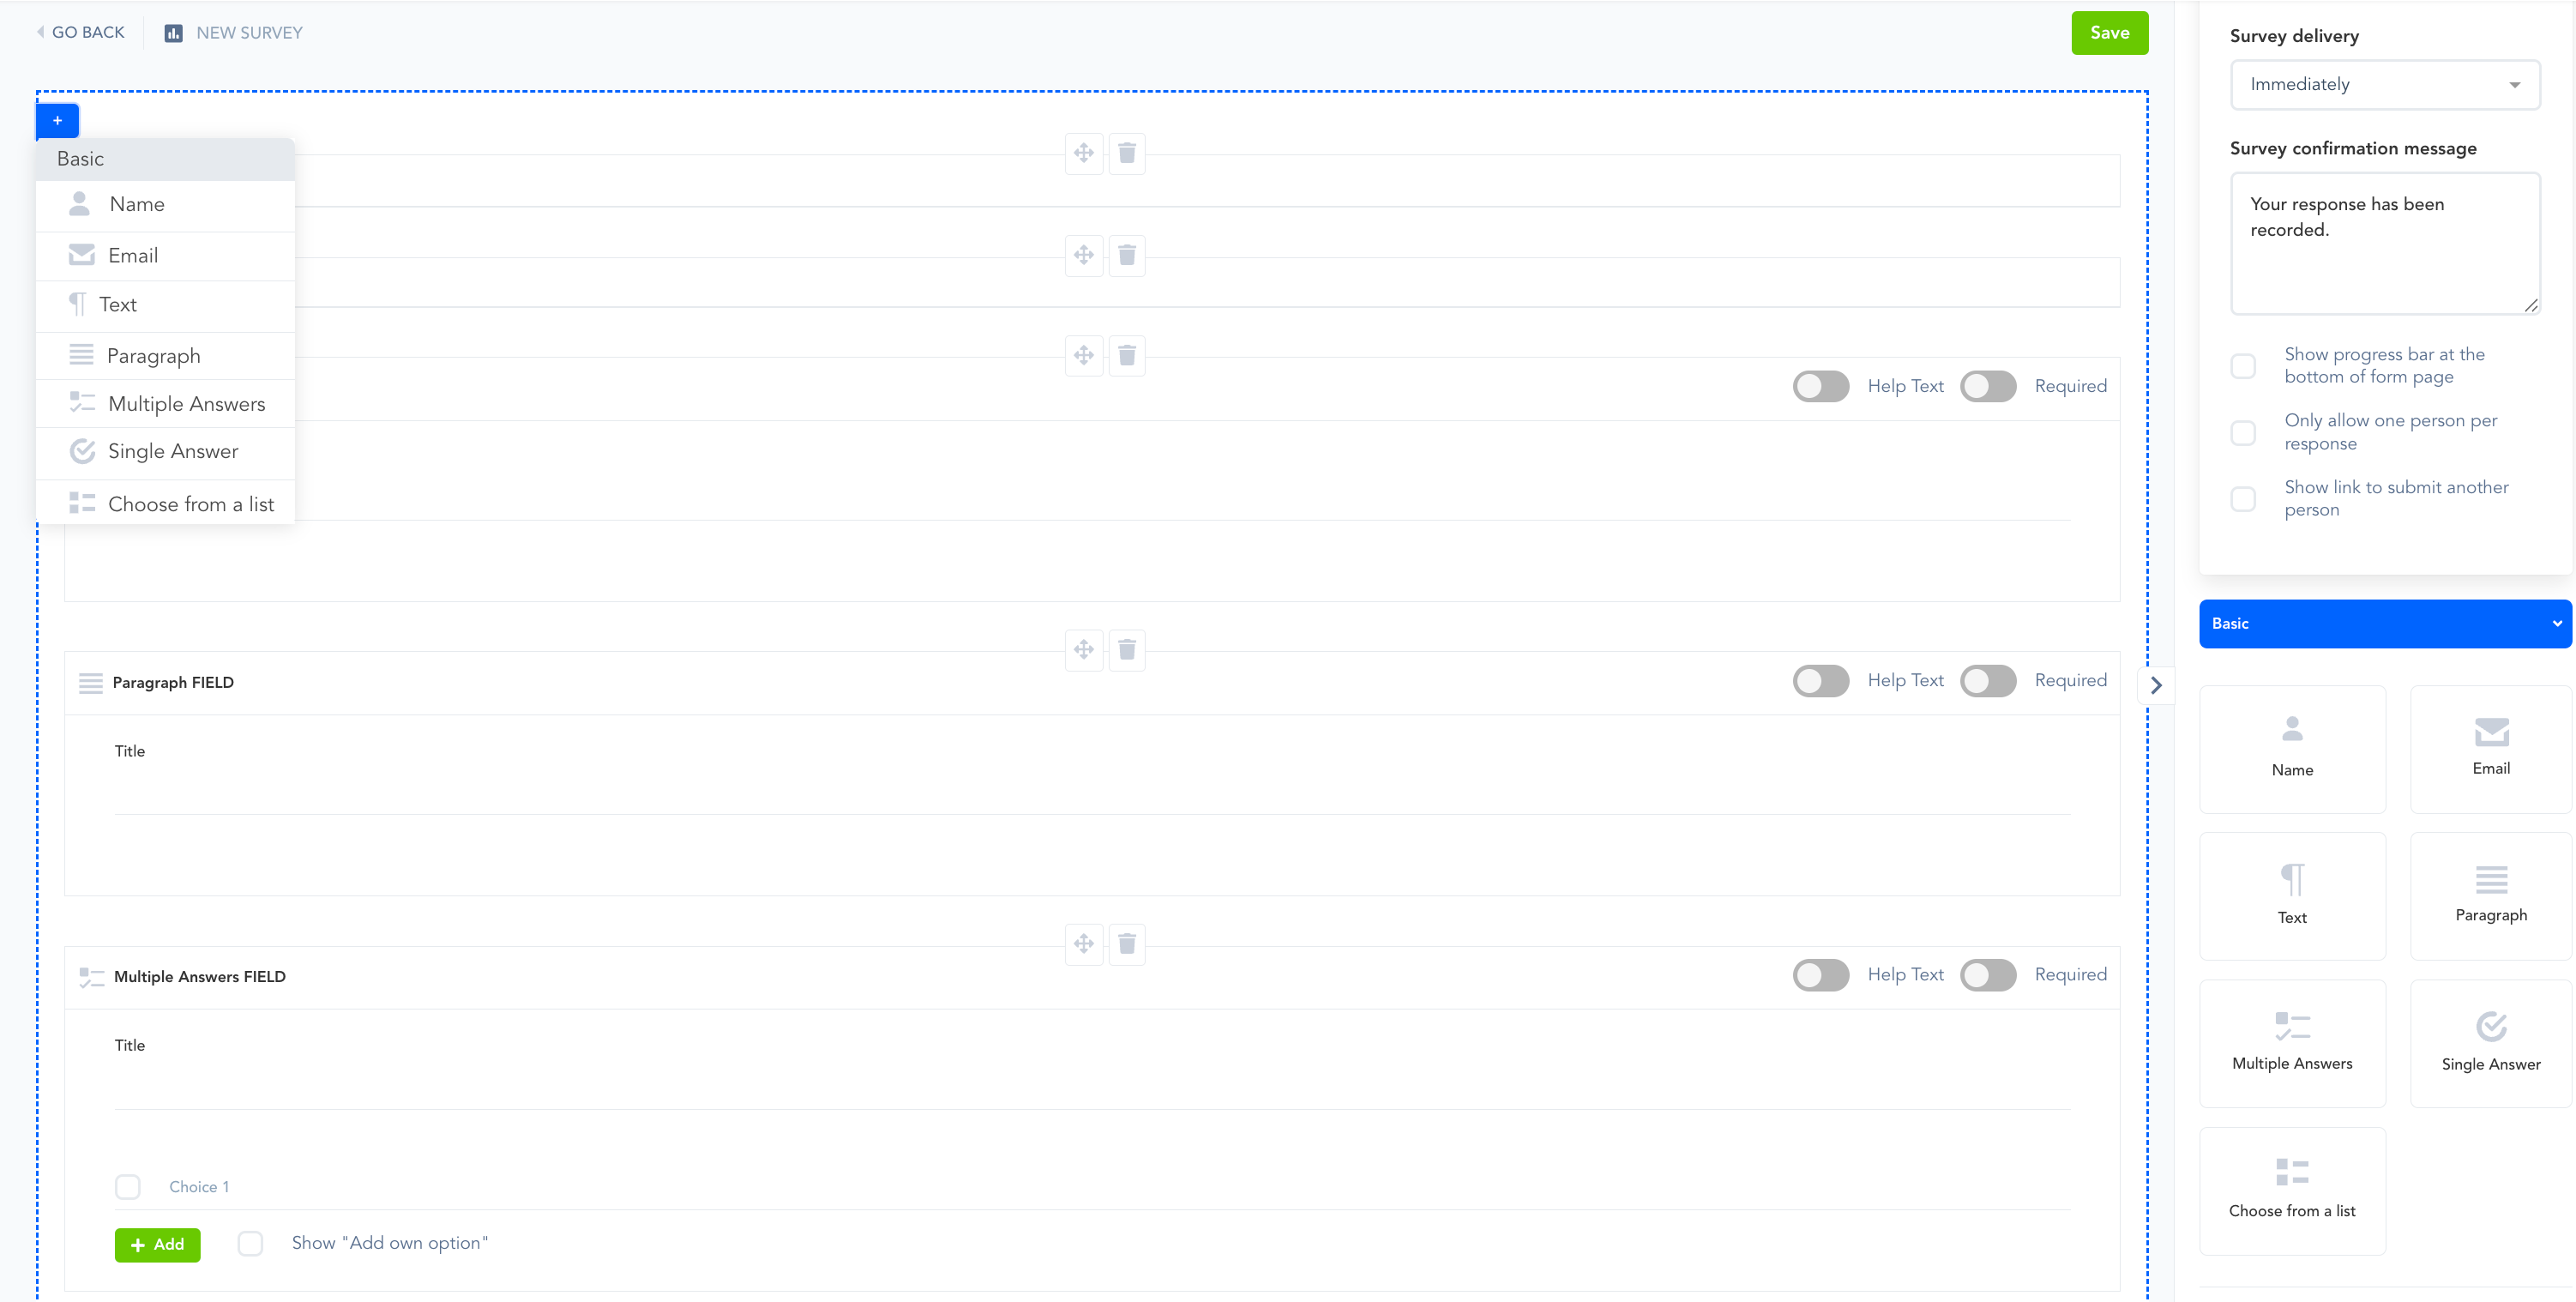
To add a question or element to your survey, just click one of the blue labels, and it will be added to your survey.
You have 3 sections to work with and create your surveys.
Basic: standard form fields
Advanced: More dynamic fields you can use on surveys.
Layout: These help design the form
Note: You can also customize the survey by adding shortcodes, which are shown at the top of the page.
Step 4: Email notification
Step 4: Email notification
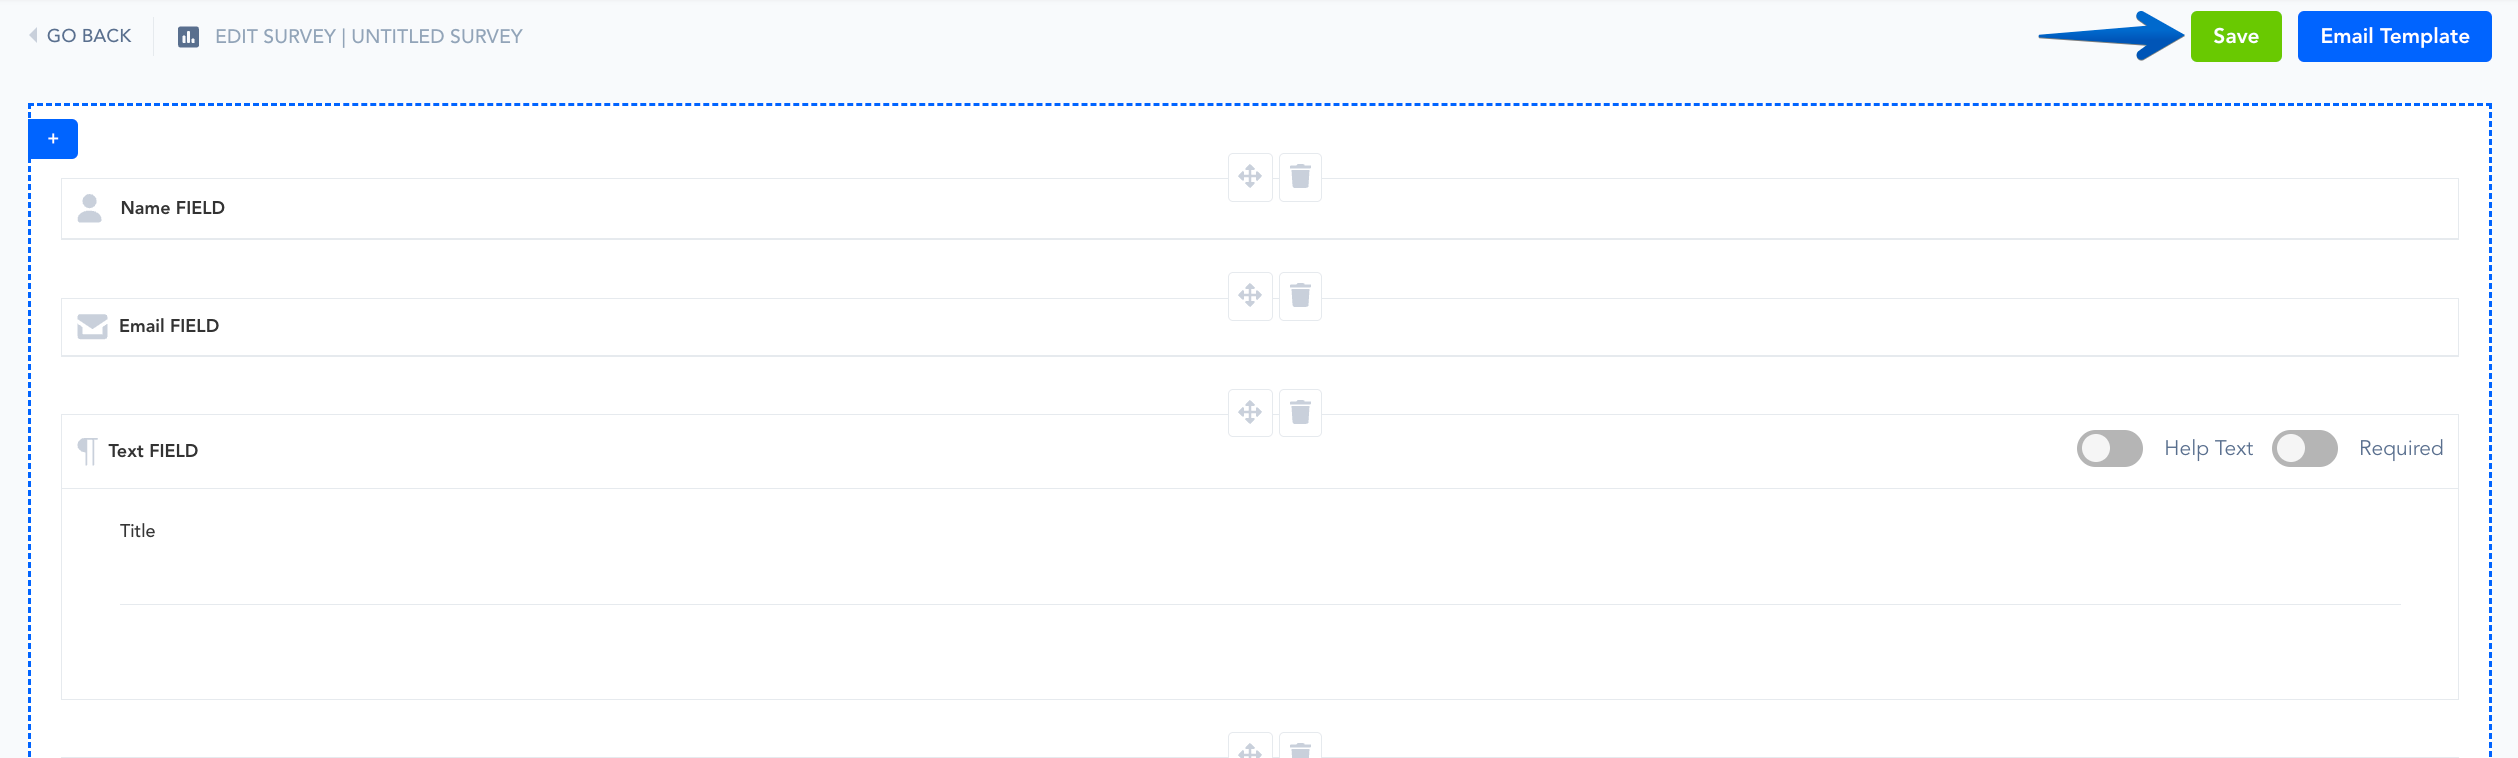
After you have created your survey, click SAVE in the top right, and it will take you to where you will customize the email that is sent out to your customer to request them to complete the survey.
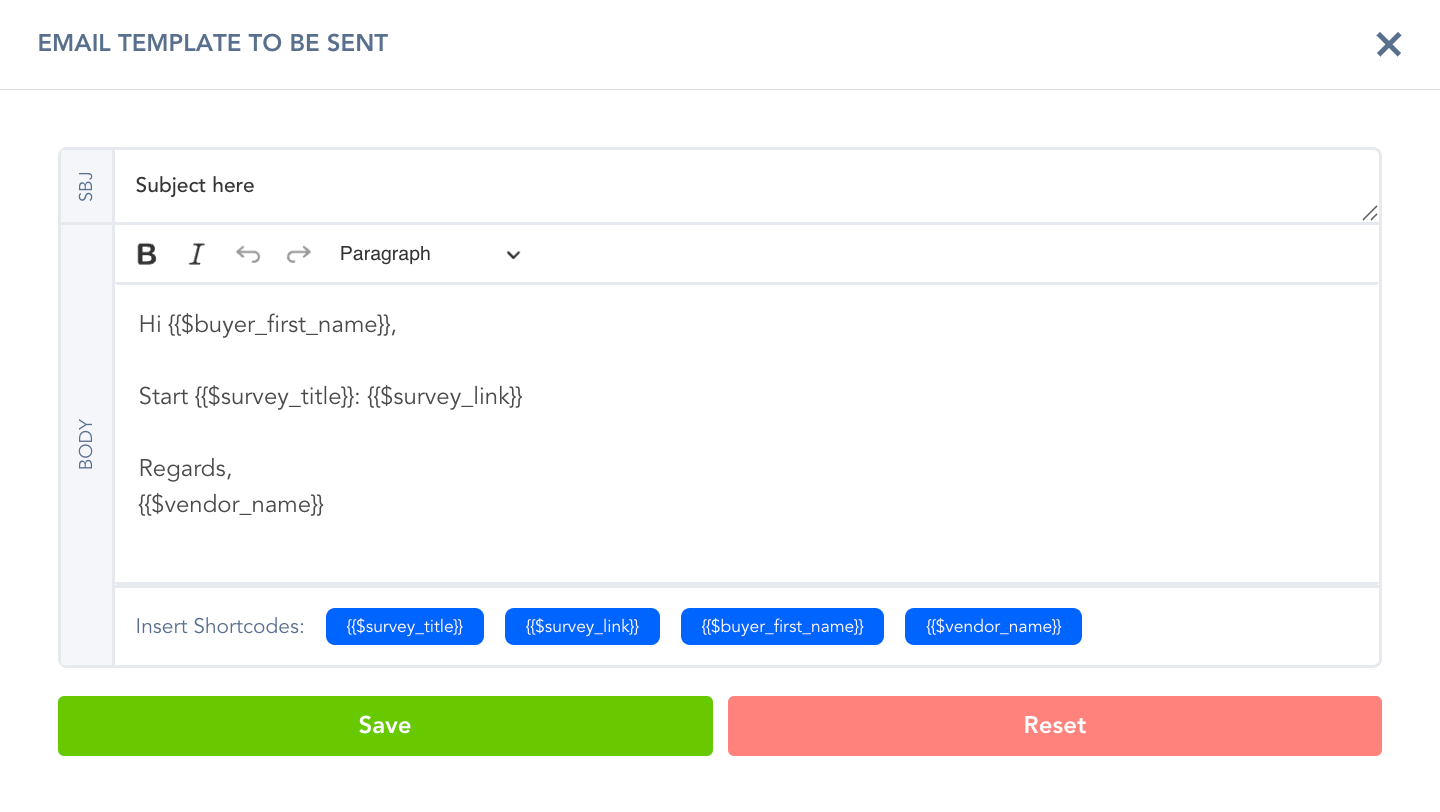
Then click Save. You are ready to go.
Survey Dashboard:
The dashboard will now show you a summary of that survey you created, along with links to preview it from a customer’s standpoint. Once responses start coming in, the View Responses button will be enabled for you to see the responses.

Was this helpful?
Still need help? Ask the team