Handling Invoices
Written By Carlos
Last updated 8 months ago
Important Invoice Notes:
The company details automatically added to your invoice are retrieved from your Profile Settings or Campaign Settings, depending on your selection during the campaign setup.
Invoice numbers are consecutive numbers on a per-vendor account basis.
Refunds will NOT affect the original invoice since it is not an invoice. Instead, a NEW invoice called a Credit Note will be created to reflect the refunded amount.
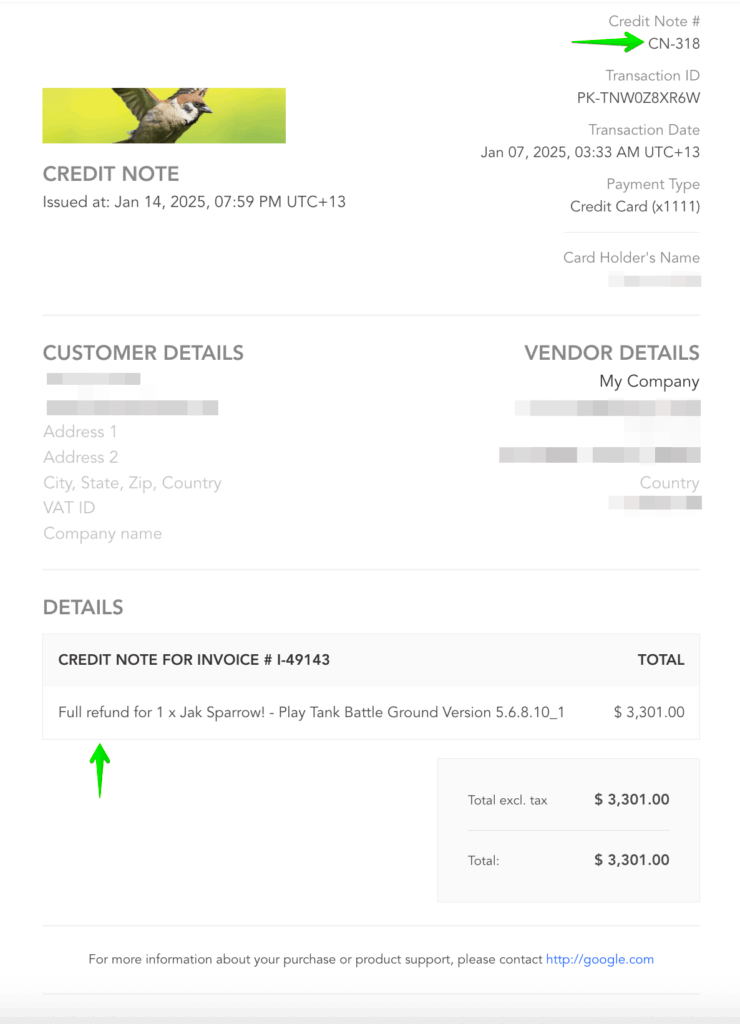
Invoice IDs will all start with I-. and Credit Note IDs will all start with CN-
If you are using an SMTP option for the campaign, invoice emails would be sent using your SMTP platform.
To learn more about using SMTP options, click here:
Important notes regarding Invoices & Refunds:
Refunds are called a Credit Note, NOT an Invoice. Credit Note IDs will all start with CN-
The Invoice description will refer to the invoice being credited against due to the refund.
Vendors have the ability to enter the reason for the refund on the credit note.
Refunds/Credit Notes will calculate the portion of the refund that’s tax.
Credit notes will also be sequential and will have their own number sequence
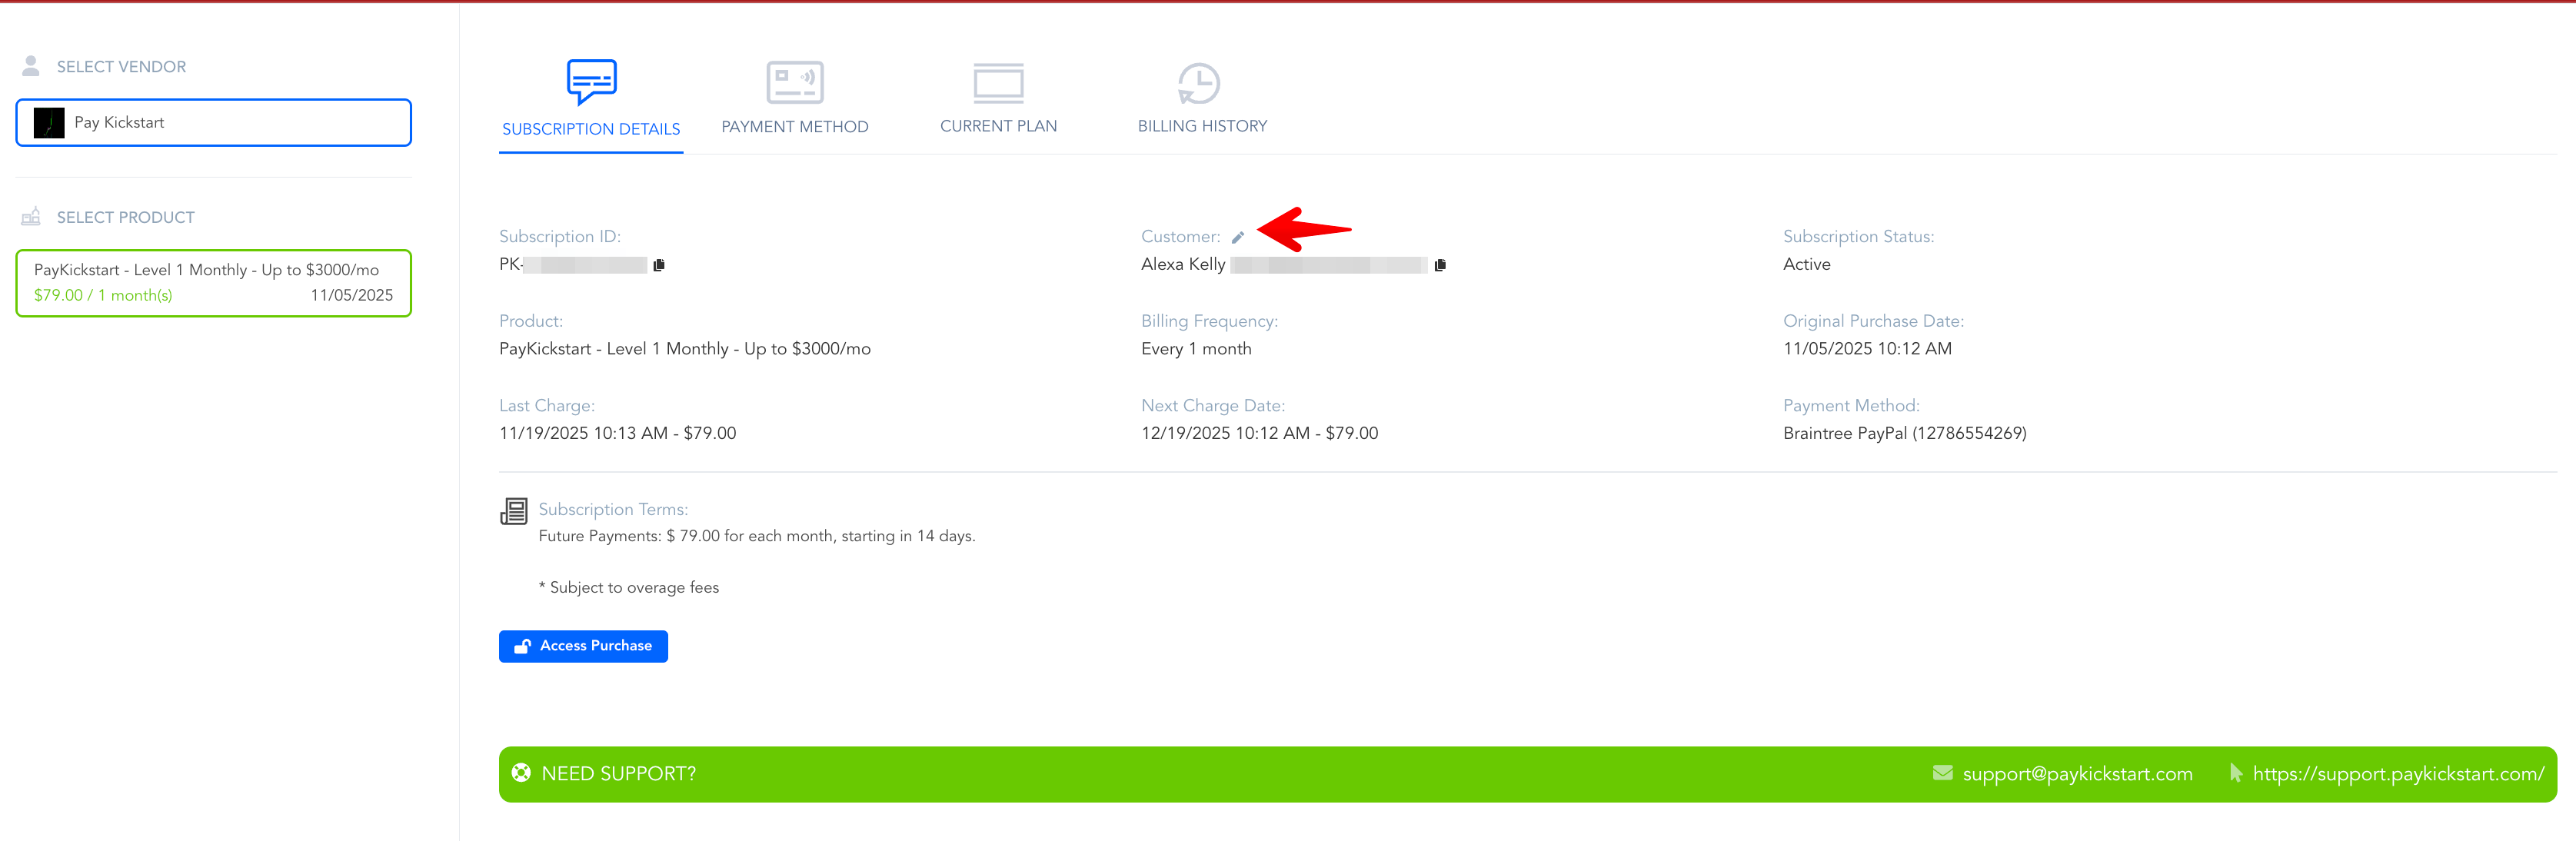
Customers also have the ability to manage their information in the Customer Billing Portal.
This includes editing their:
Email Address
Billing Address
Shipping Address
Tax ID (where applicable)
More information can be found at:
https://support.paykickstart.com/articles/6388883-customer-billing-portal
Many customers require a formal Invoice with specific customer & vendor information, mainly for tax/accounting purposes.
First, go to the Campaign Settings and set up the invoice options for all Products in that Campaign.
Auto-Attach Invoice: If enabled, this feature automatically adds an invoice file attachment to the customer’s sales, invoice, and refund emails.
Use Profile Company Settings: If enabled, the Campaign will use the company details found in your Profile Settings.
You can optionally specify a unique company name, address, and tax ID to be used for this specific campaign and the related products.
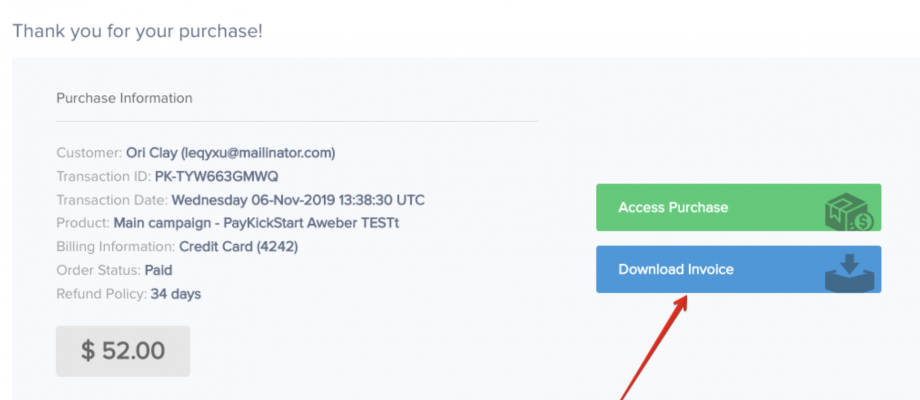
If you are using the default thank you page for your sales funnels, customers will also be able to download invoices from the default thank you page after their purchase.
If you need to download or send an invoice to a customer manually, go to Payments > Transactions (search for the transaction) and click on the Send Invoice button.
You will have two options:
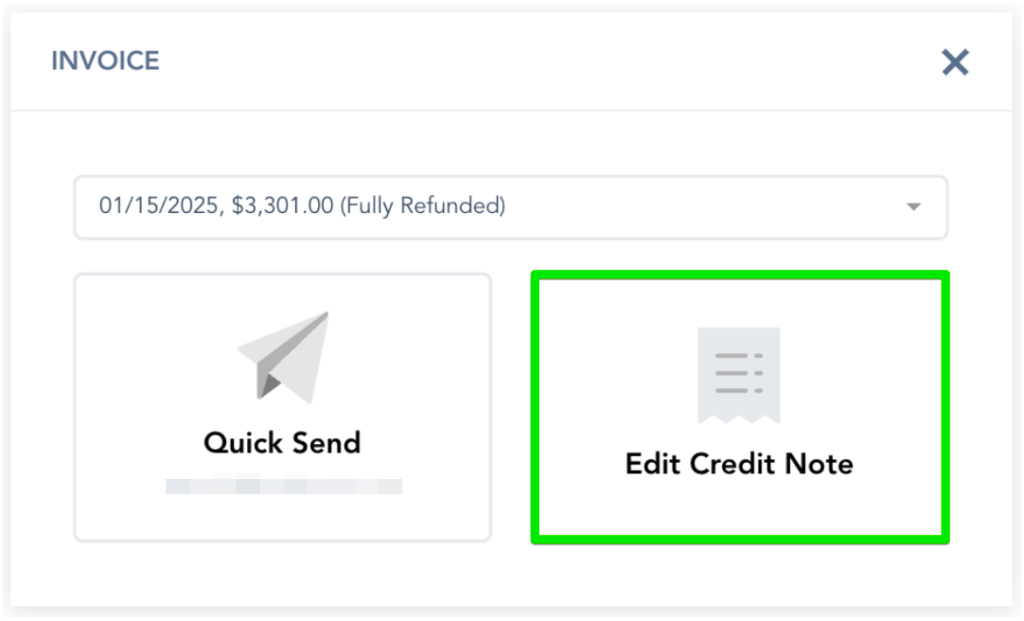
Option 1: Quick Send, which sends the pre-configured invoice to the customer’s email.
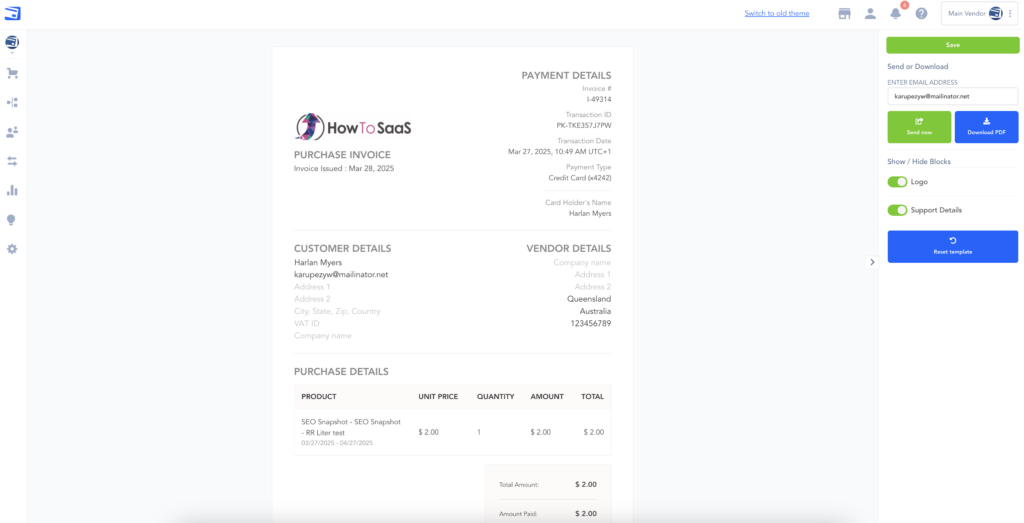
Option 2: Edit Invoice, which allows you to customize the invoice in our Invoice Builder fully.
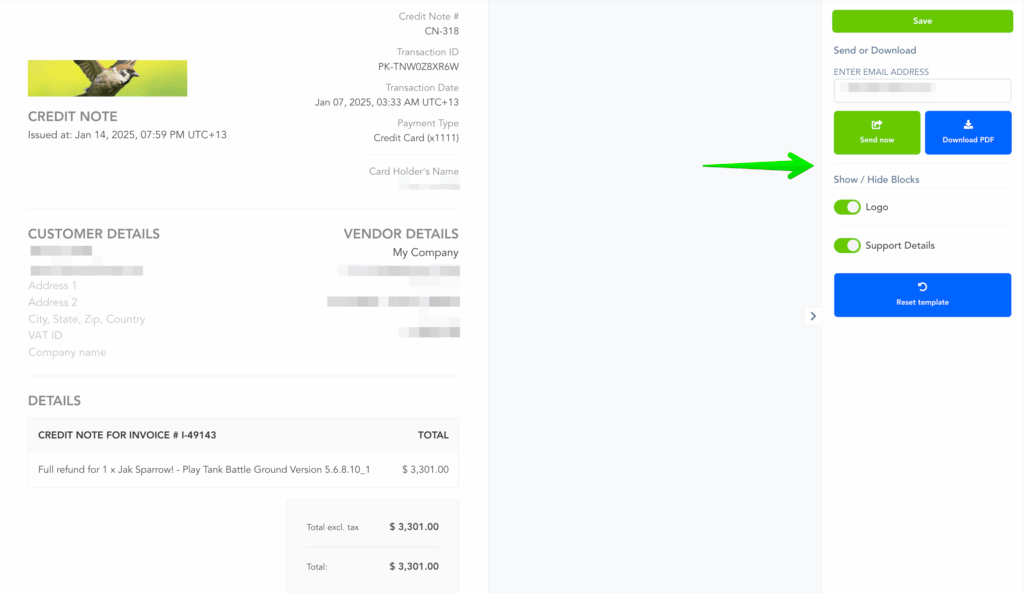
Once inside the Invoice builder, you will be able to show/hide certain blocks or elements.
You can specify a different email to send the invoice to or export the invoice to PDF.
NOTE:
If the product purchased by the customer includes VAT settings, the VAT amount and information will be shown on the customer invoice.

Credit Notes:
If you have issued a refund for the related transaction, you can select the Edit Credit Note option and view the related credit note document.

You can manually edit and send a credit note just like an original invoice.