Customer Billing Portal
Written By Carlos
Last updated 9 months ago
Vendors have the ability to use the Customer Billing Portals on their site pages to allow customers to look up related accounts and purchase information.
Note:
You can add the customer billing portal via two methods:
PayKickstart hosted link to Customer Billing Portal
Embeddable Customer Billing Portal
Important:
In order for the customer to access a related product from the billing portal, the customer must have at least 1 real paid transaction.
If you want to test the billing portal, set a product to $1 and make a live purchase.
You can refund it after if needed.
To know more about the Customer Billing Portal, please watch this demo:
Or check the options below:
Option 1: PayKickstart hosted link to Customer Billing Portal
Option 1: PayKickstart hosted link to Customer Billing Portal
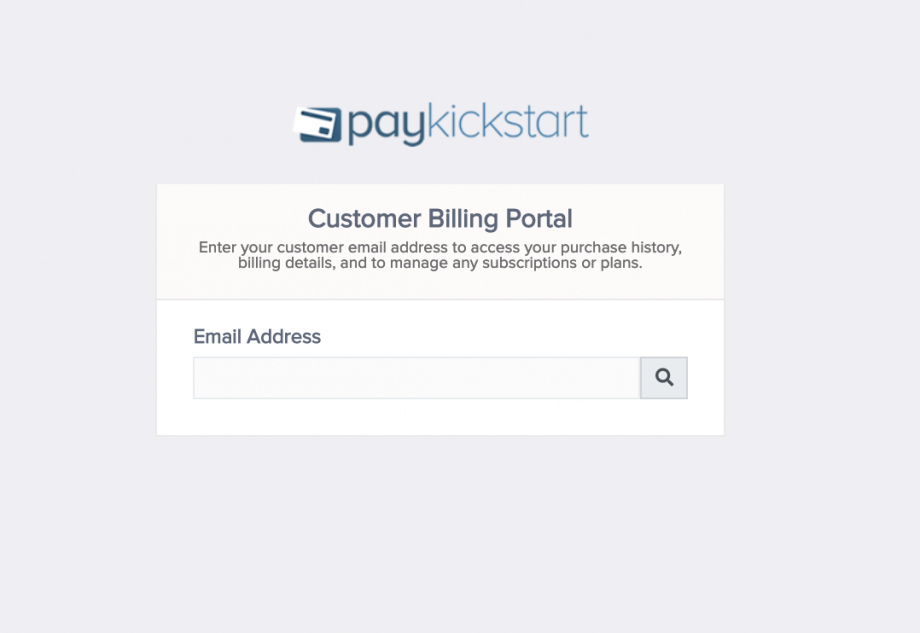
This option allows vendors to easily paste a default PayKickstart hosted link to allow customers to click and access the general customer billing portal.
→ Default Link for customers: https://app.paykickstart.com/billing
Settings: https://app.paykickstart.com/vendor/configure/customer-billing-portal
You can paste this link on your page to allow customers to click and access the customer billing portal.
You have the option to control what actions the customer can take with your products via the global billing portal.

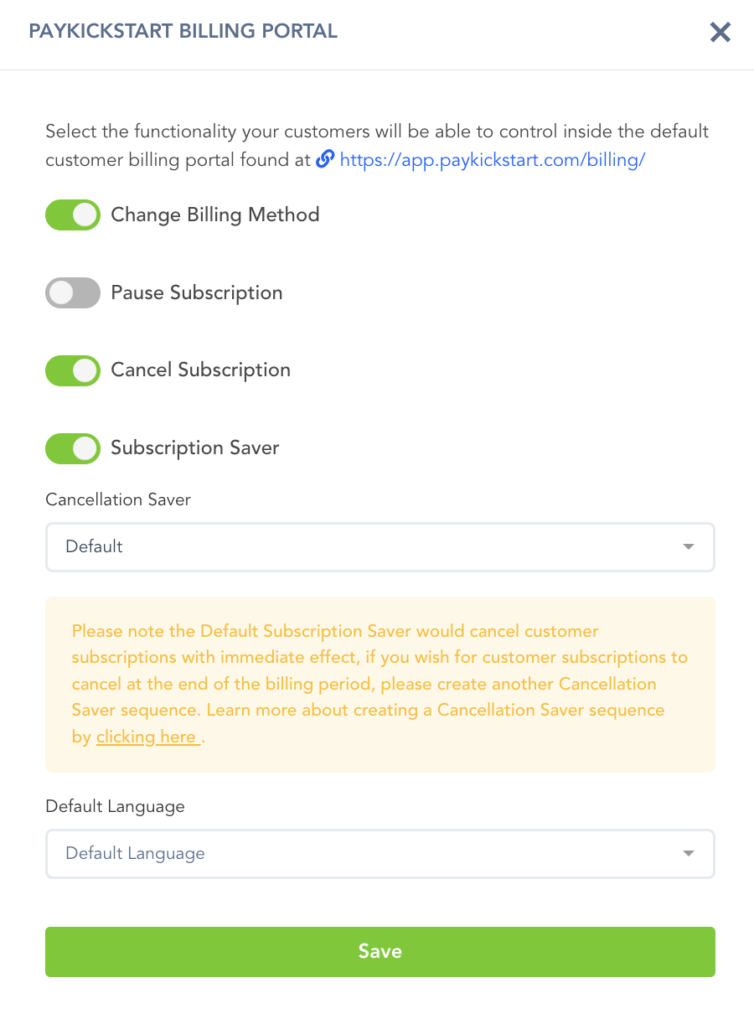
Pause Subscription: Allows customers to pause subscriptions on their own.
Please see → https://support.paykickstart.com/en/help/articles/2992152-pausing-subscriptions
Cancel Subscription: Enabled permanently by default. Allows the customer to cancel the subscription on their own. This option is now always enabled in accordance to regulations that allow customers to easily cancel their plans when needed.
Subscription Saver: Allows the vendor to offer subscription retention when a customer is trying to cancel, built into the billing portal.
Vendors can either use the default cancellation saver widget or a custom one they have set up. Please see: https://support.paykickstart.com/en/help/articles/1641531-cancellation-saver
The subscription saver is currently hosted in English and German, with more languages coming soon.
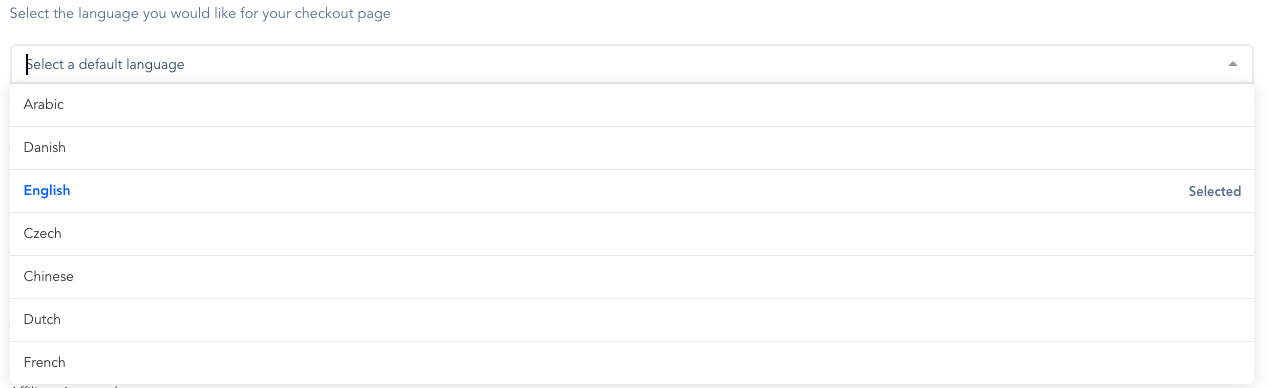
The billing portal itself can be translated into other supported languages you are using on your checkout forms and email notifications.
After entering the corresponding email address, the customer will receive an email from support@paykickstart.com with a personal link to their billing section to access the information and make changes if needed.

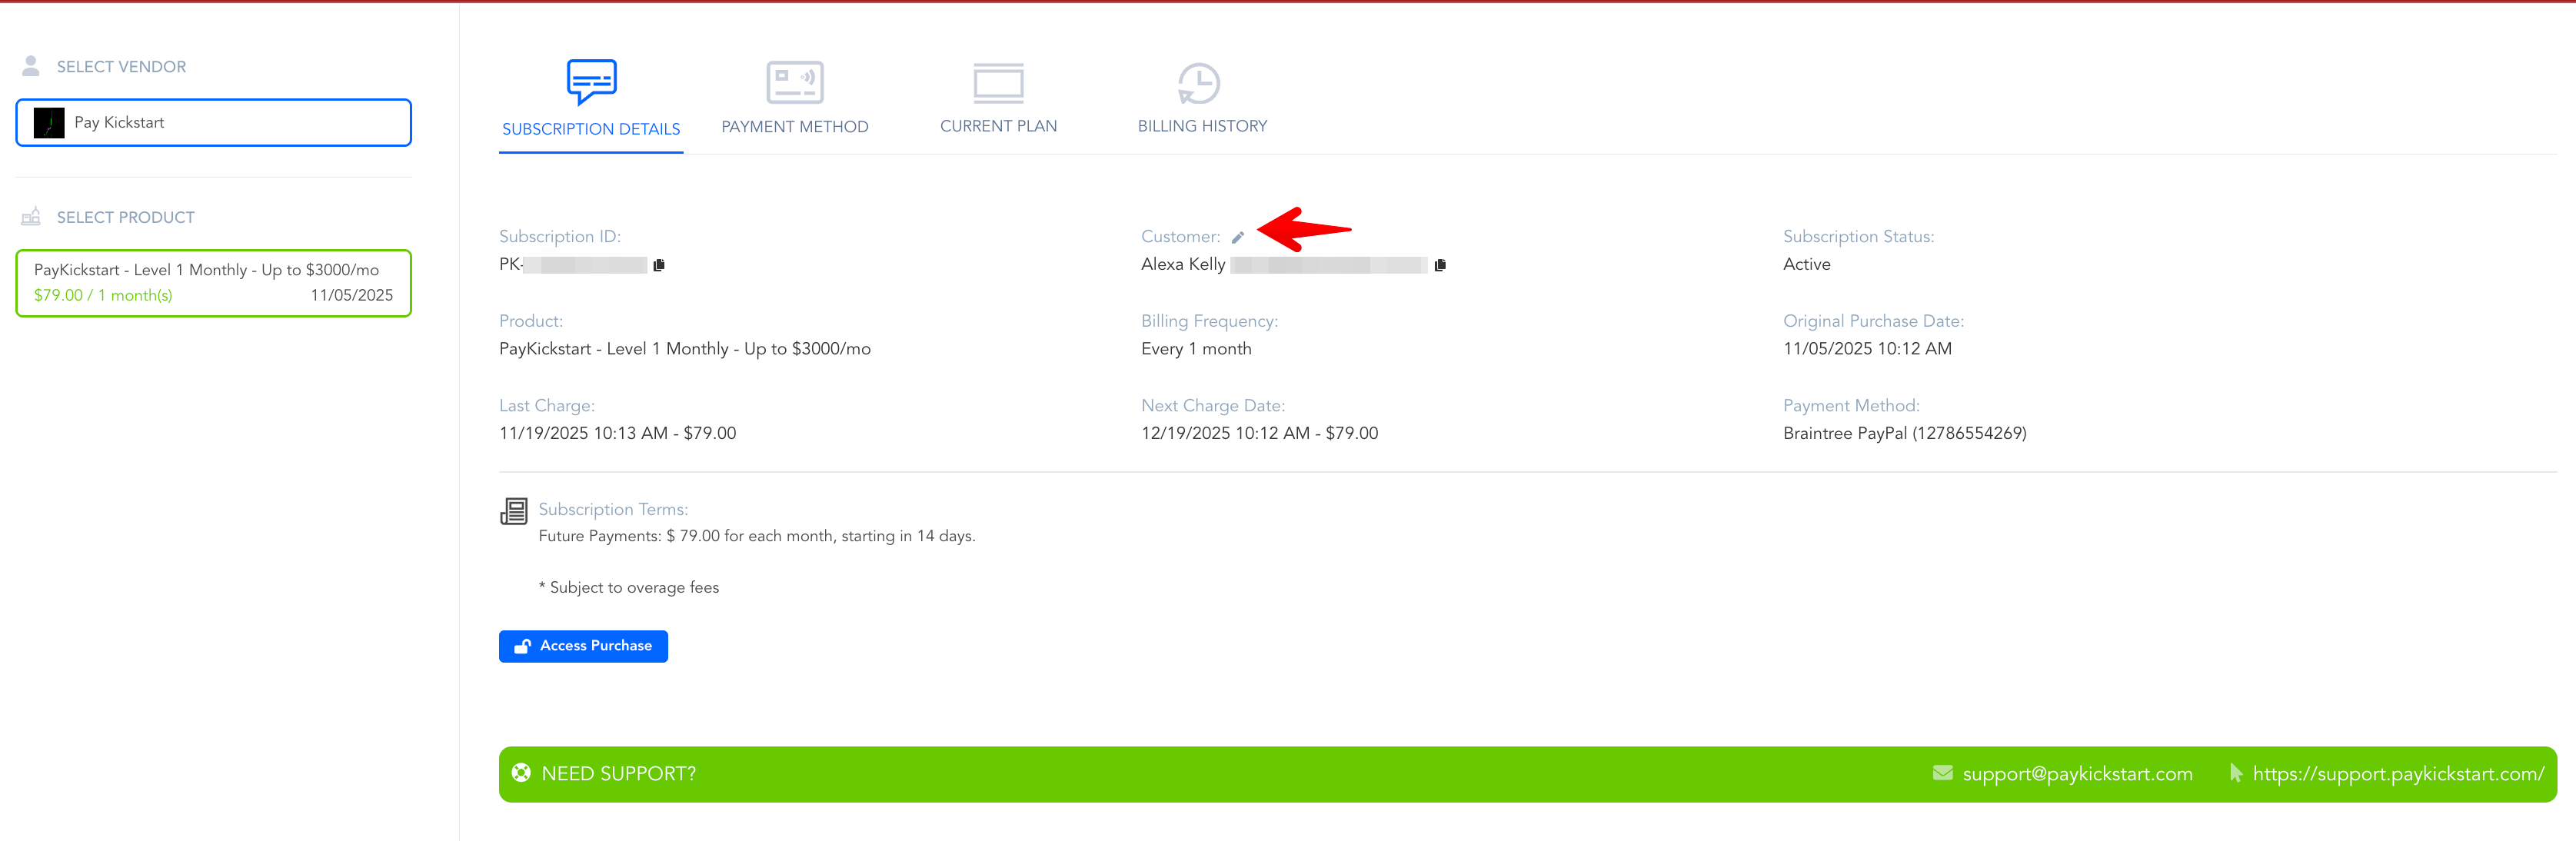
Customers can edit their account details directly within the portal, including their Email Address, Billing Address, Shipping Address, and Tax ID (where applicable).
Note:
The PayKickstart hosted option allows customers to see all billing information, as well as download invoices and access products. If you would like a more customizable option, please see the embeddable customer portal option below.
Option 2: Embeddable Customer Billing Portal
Option 2: Embeddable Customer Billing Portal
Step 1: Go to Configure > Customer Billing Portal
Step 2: Click +New button in the top right of the billing portal page.

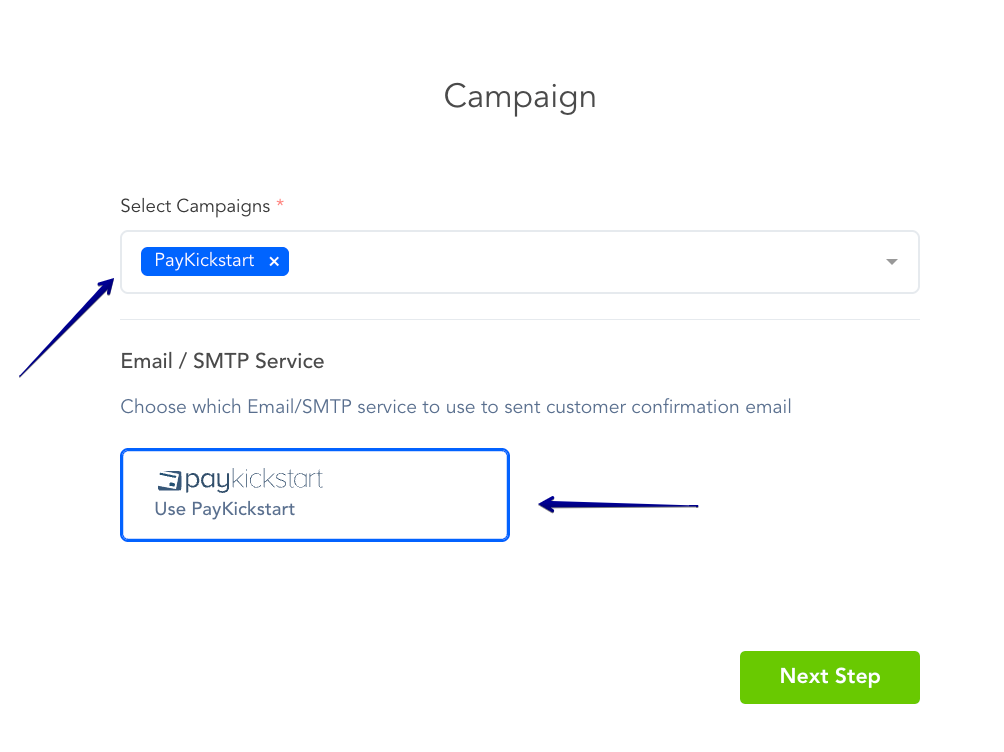
Step 3: Select the campaign(s) and Email/SMTP service provider you would like to use for the billing portal. Then, click the Next Step button to proceed.
Note: The option to select another SMTP service will only appear if you have already added another SMTP service in the main Integrations page.
Step 4: In this step, you will set the Configure options for the customer portal, such as:
Font selection: Choose the font you want to use.
Show Heading: Enable or Disable the Headline and Description.
Headline: The main title wording for your portal.
Description: The secondary wording used in the portal.
Background Color: The color you would like to set for the customer portal background.

Custom CSS (Optional): this field would allow you to add additional CSS if you would like to further customize the portal design options. Using CSS you have the ability to change all color options needed as well as add additional styling to the embedded portal.

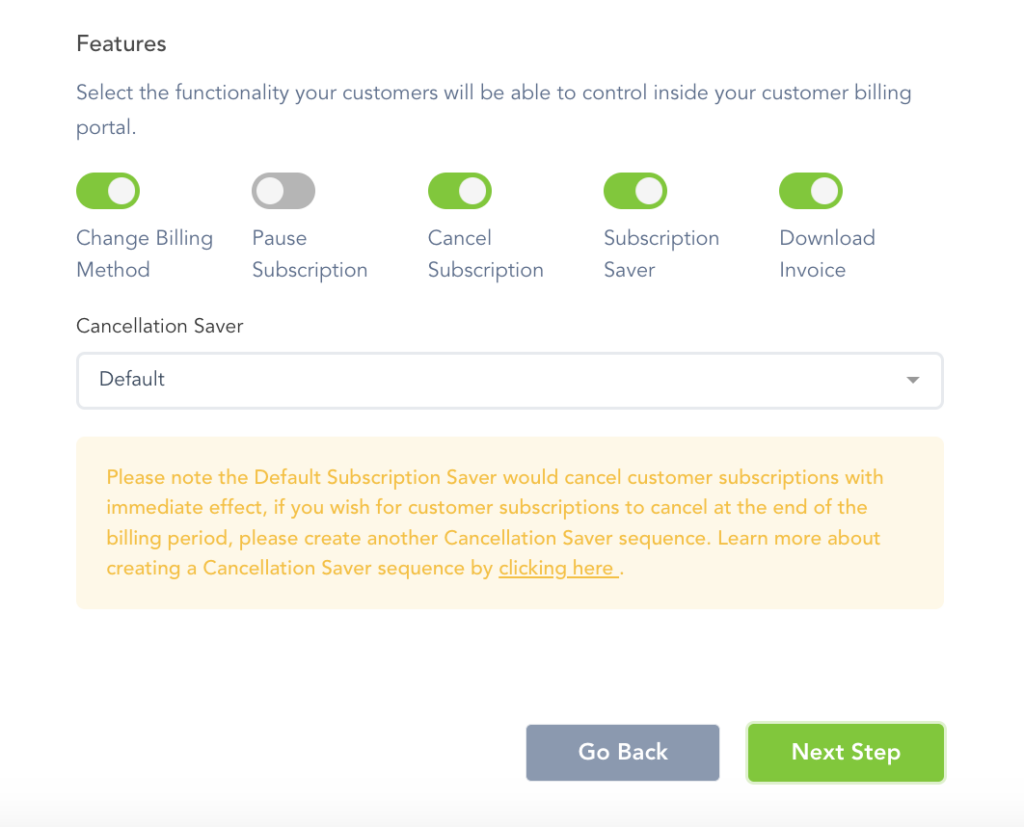
Features:
Change Billing Method: If enabled, this will allow customers to update their billing information from the portal.
Pause Subscription: Allows customers to pause subscriptions on their own. Please see → https://support.paykickstart.com/en/help/articles/2992152-pausing-subscriptions
Cancel Subscription: Enabled permanently by default. Allows the customer to cancel the subscription on their own. This option is now always enabled in accordance to regulations that allow customers to easily cancel their plans when needed.
Subscription Saver: Allows the vendor to offer subscription retention when a customer is trying to cancel, built into the billing portal. Vendors can either use the default cancellation saver widget or a custom one they have set up. For more information about the Cancellation Save Widget please see → https://support.paykickstart.com/en/help/articles/1641531-cancellation-saver
Download Invoice: This will allow the customer to download an official invoice for the purchase transaction.
The billing portal itself can be translated into other supported languages you are using on your checkout forms and email notifications.
After editing the settings to your preferences, click Next Step at the bottom.
Step 5: Copy and paste the customer portal embed script in the body section of the page you want to show customers the billing portal.
Note: If you want to auto-login the customer, please refer to the API documentation for Customer billing
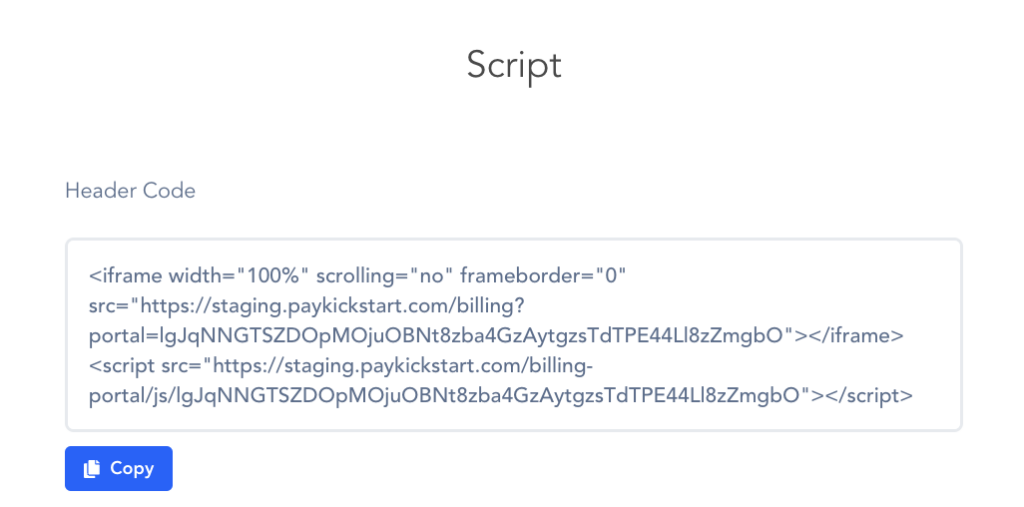
Step 6: After pasting the code on your site, save the portal settings.

Step 7: (Self-service subscription up/downgrade and reactivation options)
You can enable or disable specific products in a selected campaign to show in the billing portal as up/downgrade options for customers, as well as the option to allow customers to reactivate a canceled subscription on their own.
If you want to disable a specific product, go to the product settings for that product, and in section 2, you can disable the product from showing as available up/downgrade options in the customer billing portal.
Note: If the subscription reactivation option is not enabled for the product, customers will not be able to update billing for a canceled subscription until the vendor manually reactivates the subscription.
Note: If the Available on Billing Portal option is enabled, it will allow customers to up/downgrade to other products in the campaign.
If the customer upgrades, PK will charge the prorated amount for the new subscription on the customer’s next billing date. If the customer downgrades, then PK will apply a credit to the new subscription to be used on future billing charges until the credit is depleted.


Your customers will now be able to use the embedded customer billing portal to enter their email address used to purchase and access their billing portal.
Note: If you want to auto-login the customer, please refer to the API documentation for Customer Billing.
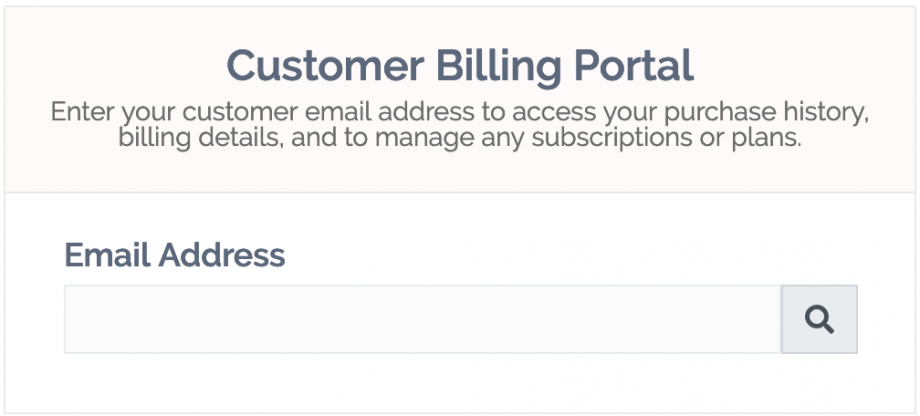
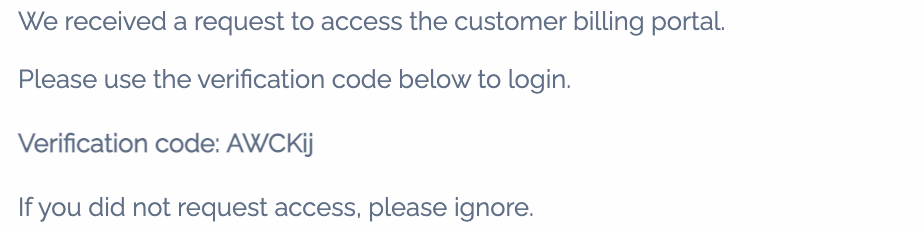
After entering the corresponding email address, the customer will receive an email from support@paykickstart.com with a personal code to access their billing section and make changes if needed.
Customers can edit their account details directly within the portal, including their Email Address, Billing Address, Shipping Address, and Tax ID (where applicable).


Please Note:
In 2025, we have enhanced our Customer Billing Portal to provide a more intuitive and streamlined subscription management experience.
Reflecting the latest consumer protection standards, we have made the process for canceling a subscription as simple and transparent as signing up.
This update empowers customers with complete control, which is fundamental to building their trust and confidence in you as a vendor for future purchases. Furthermore, it ensures proactive compliance with key regulations, such as the FTC's "Click-to-Cancel" rule in the US and similar legislative measures worldwide.
Our commitment is to foster a secure and transparent ecosystem where both consumers and vendors can thrive, and this enhancement is a significant step in that direction.
Was this helpful?
Still need help? Ask the team