Campaigns can be considered as a folder that holds related products such as products for the same company or pricing plan options.
Campaigns will hold your related products and those products will use information from your campaign such as affiliate commission percentages, support contact information, logos, payment gateways and more.
Campaigns also hold the sales funnels you will create to host your checkouts.
*Learn more about using 1 or multiple campaigns
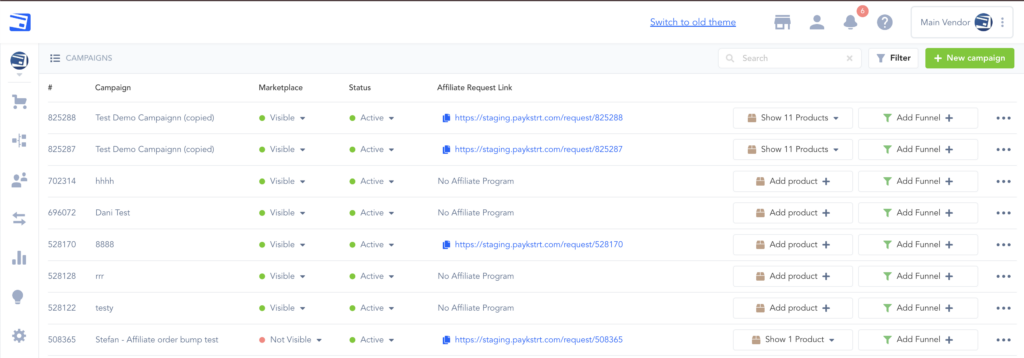
To create a campaign follow the steps below:
Step 1: Add the new campaign
In your PayKickstart vendor account go to the campaigns section

Once in the main campaign section, click to add a new campaign.

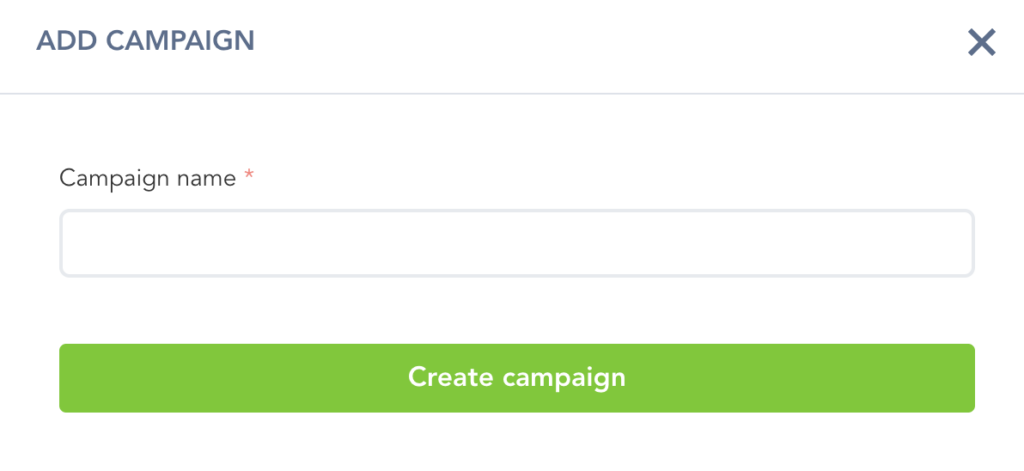
A pop-up will appear to name the campaign and click save.
Most vendors name their campaign after their company or product/service line.
Step 2: Apply campaign settings
Inside the new campaign settings you will need to enter the required information to save the campaign.
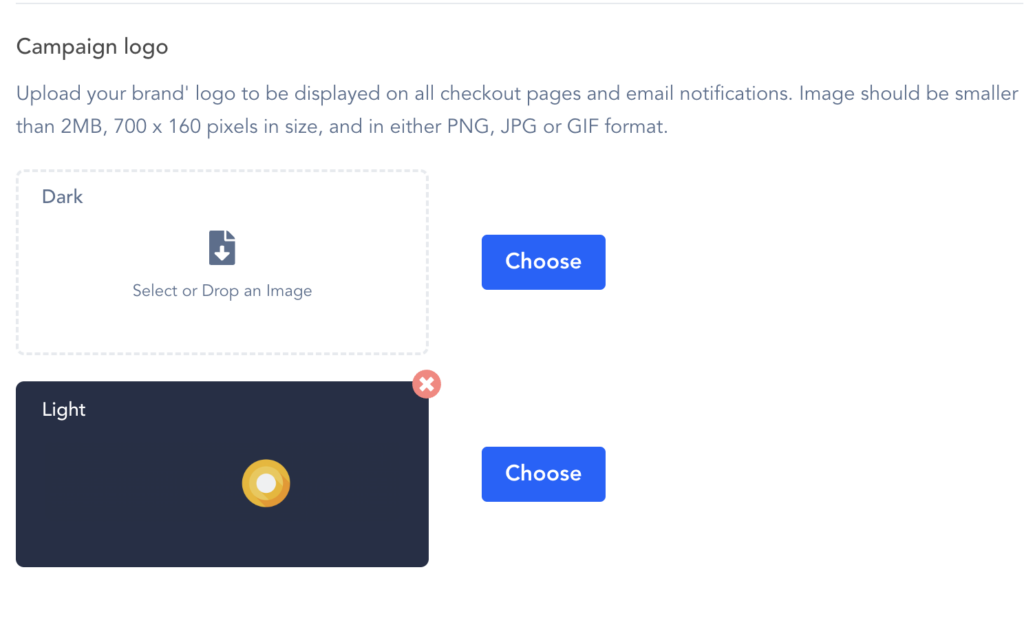
- Campaign logo: Logos that will be used on checkouts and customer emails.
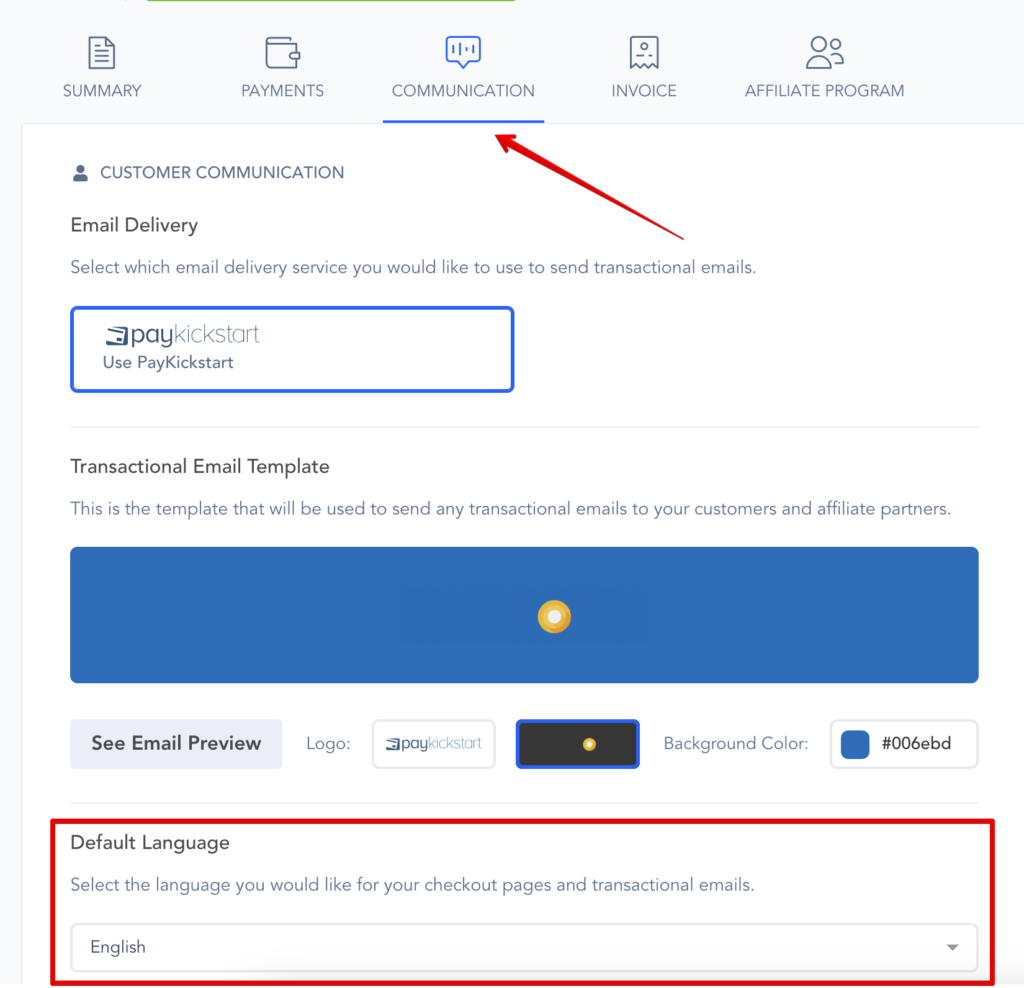
- Default Language: The default language you want to show related product checkouts and emails in. This can also be set at a per-product level and will override the campaign language for the product if needed.
- Base Currency: The currency the related products will charge in. Must have a payment gateway integration with the same base currency.

- Multiple Currency(optional): If you have payment gateways that can accept multiple currencies, you can enable this option in the campaign to allow customer purchases via the set currencies.

*NOTE: You MUST have a connected payment gateway to accept payments in the related currency. If enabled, you will have the option to set the specific product price in each currency, or allow our system to do the automatic price conversion.
When the customer selects their country (or from their IP address), if the associated campaign and the gateway selected support that country’s currency, then display the amount fields using that currency. If not, the default currency set on the campaign will be used.
- Payment Gateway: Enable and choose the payment gateway options you want to offer customers on the product checkouts.
- PayPal: To accept payments via PayPal integration.
- Credit Card: To accept payment via Braintree, Stripe, Auth.net or EasyPayDirect or CONNECT.
- Wire Transfer: To accept ACH and/or SEPA Bank transfers using Stripe or CONNECT.
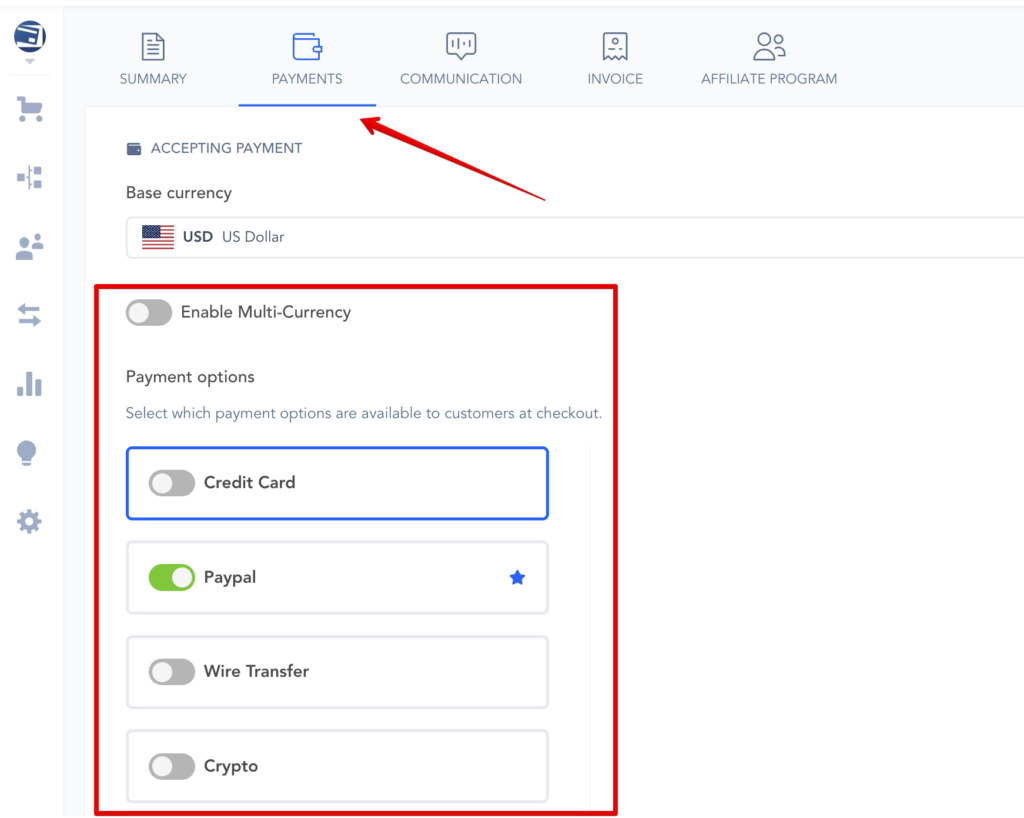
- 1-Click Upsells: allows the customer to purchase the related products in a sales funnel with 1-click. will use the customer purchase data from the main funnel purchase to charge for the upsell purchases. Learn more about 1-click upsell here.

- Duplicate Purchases(optional): Allows the vendor to warn customers of duplicate purchases or block duplicate purchases. Learn more here.

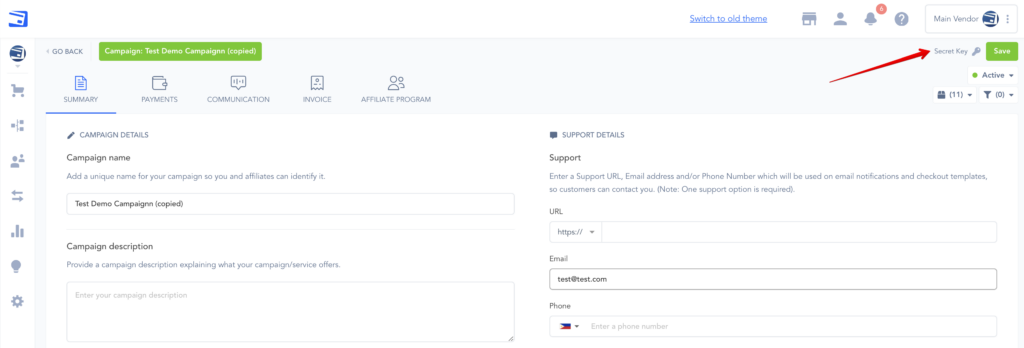
- Secret Key: This shows the campaign API key which may be needed for some integration connections.
- Invisible reCAPTCHA(optional): reCAPTCHA is a free service from Google that helps protect websites from spam and abuse. A “CAPTCHA” is a turing test to tell human and bots apart.

Customers will not need to take any additional steps.
All checkouts from the campaign will show this icon advising Captcha is enabled.

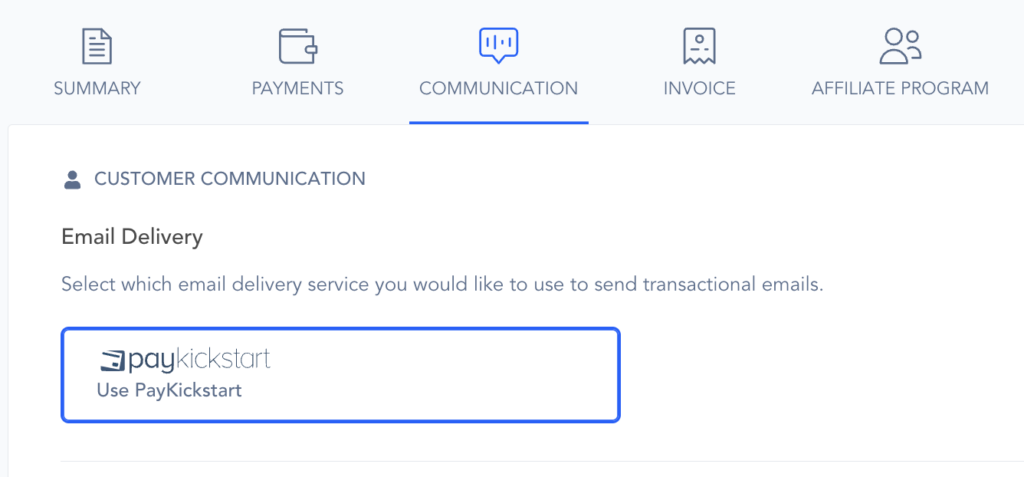
- Email/SMTP Service(optional): By default PayKickstart sends out customer emails via our server. If you want to send emails via your own server, you can learn more here.
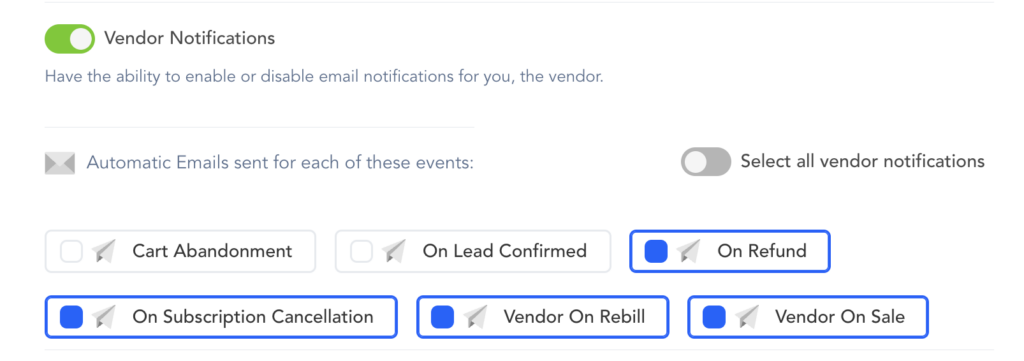
- Vendor Notifications: Enable/disable email notifications you want to receive for related campaign products.
- Buyer Notifications: Enable/disable email notifications you want your customers to receive for related campaign products.
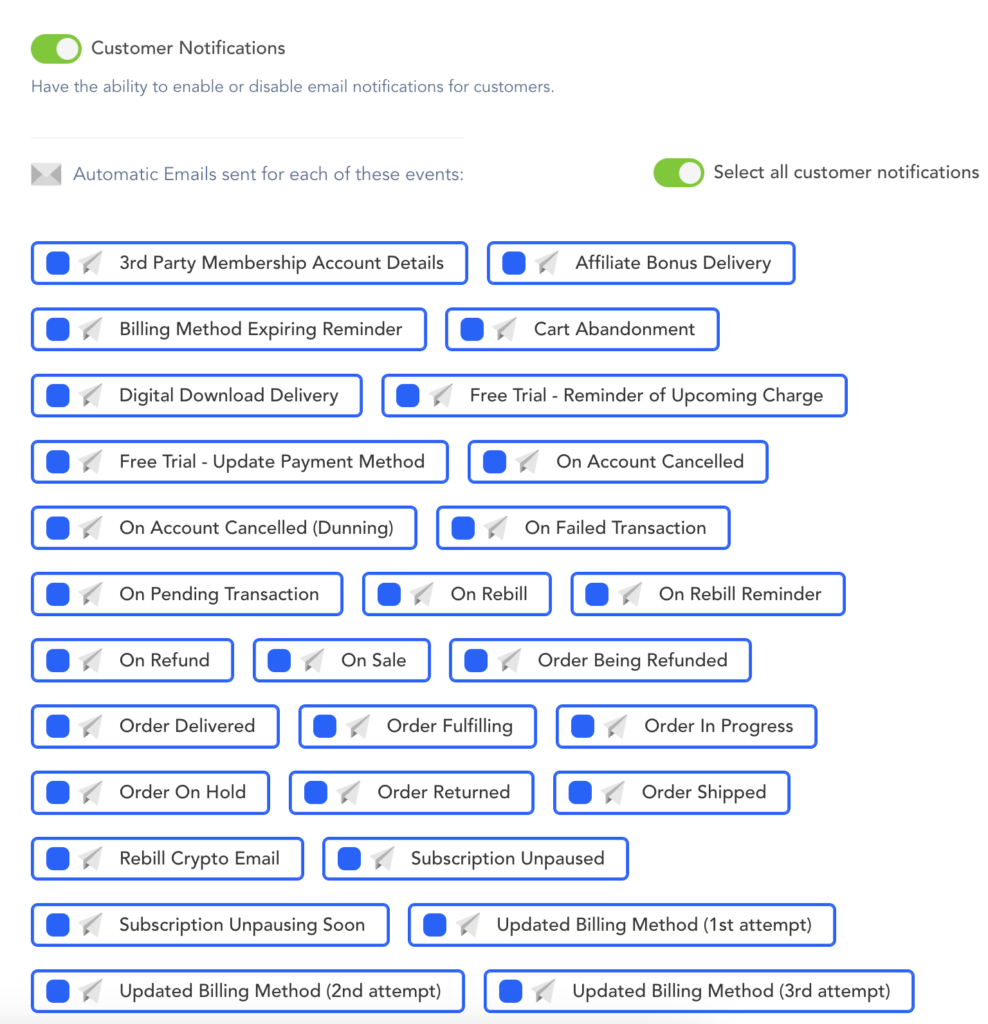
- Email Header Logo: You can select the light or dark campaign logo to use on related emails.

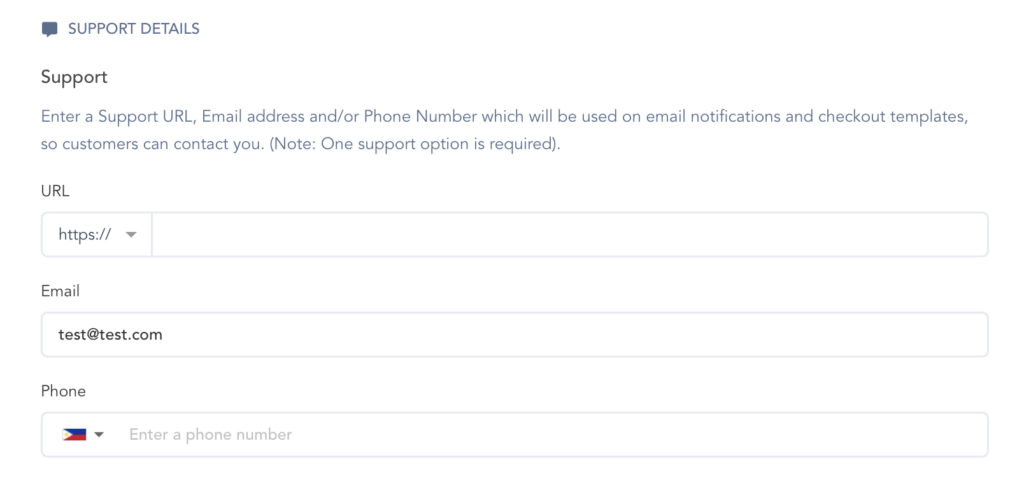
- Support: Add the support contact info. This info will show on product checkouts and be used with customer emails.
- Refund Period: Amount of days the customer can request a refund for a product in the related campaign.

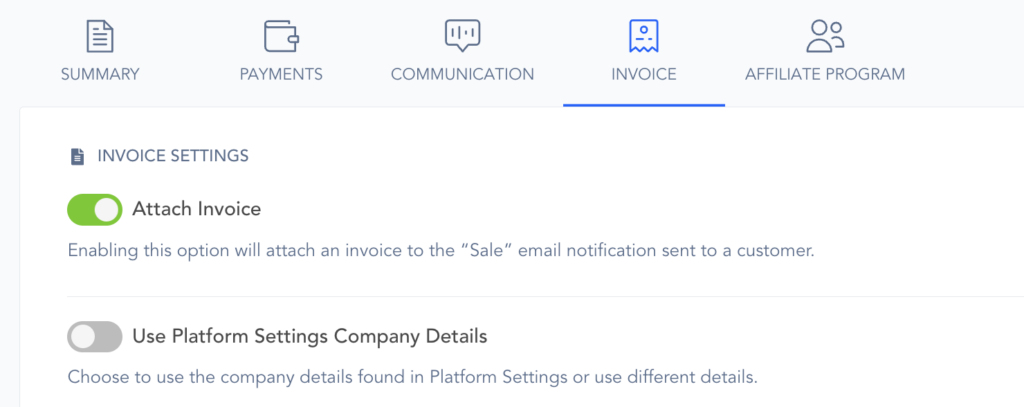
- Auto-Attach Invoice(optional): Enabling this option will attach an invoice to the receipt email sent to the customer.
- Use Profile Company Settings: This optional feature will allow vendors to use the company details in their profile section if they do not want to use the company details form the campaign.
- Affiliate Program(optional): Growth and Scale plan vendors can enable an affiliate program for their campaigns. Learn more here.
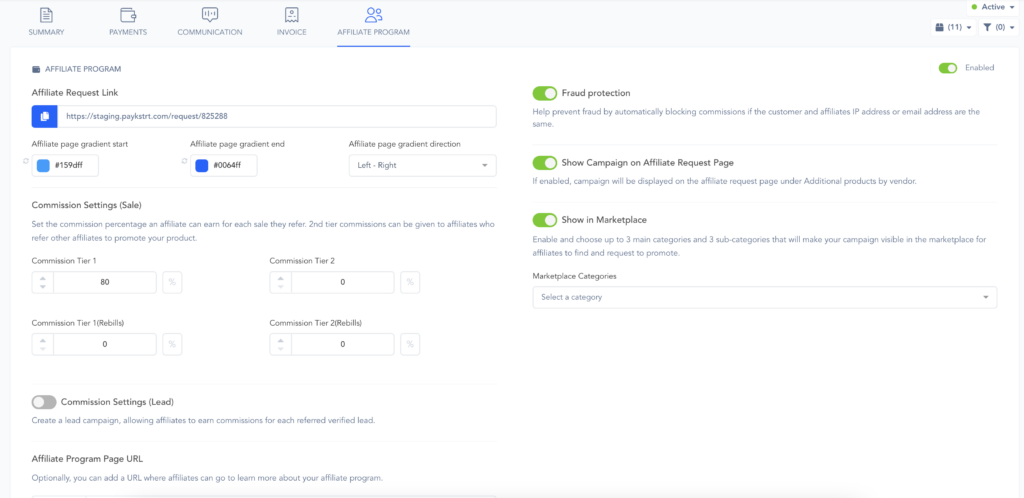
- Show Campaign On Affiliate Request Page: This option will show the related campaign on other affiliate request pages for other campaigns to allow the affiliate to click and request to promote the other campaigns as well.
- Fraud Protection(IP Match): This option allows vendors to enable additional security to prevent affiliates from making a commission on their own purchases. Learn more here.
- Affiliate Request Page URL: the link that can be shared with new affiliates to request to promote the campaign.
- Commission Settings: The commission percentages affiliates can earn.
Tier 1: affiliate that shared tier 1 purchase links with the customer.
Tier 2: Affiliate that shared 2nd tier affiliate request link with a new affiliate, then the new affiliate makes a sale. The 2nd tier(original) affiliate can earn a percentage of the sale made by the tier 1 affiliate.
- Commission Tier 1: Commission percentage for initial product purchase from affiliate(tier 1) sharing buy links with the customer.
- Commission Tier 2: Commission percentage for initial product purchase from affiliate(tier 2) that shared their 2nd tier affiliate request link, then the new referred affiliate made a sale.
- Commission Tier 1(Rebills): Commission percentage for all transactions after the initial purchase. The affiliate that shared the original buy link to the customer.
- Commission Tier 2(Rebills): Commission percentage for all transactions after the initial purchase. The affiliate that shared their affiliate request link, then the new referred affiliate made a sale.
- Lead Tracking(optional): Growth and Scale plan vendors can also create Lead Tracking Campaigns to credit affiliates for any verified leads they referred to your campaign. Learn more about Lead/CPA Tracking.

- Membership integration(optional): See possible membership platform integrations here.

After entering the required settings you can now save the campaign and continue to create your products in the new campaign.
