If you would like to setup Checkout Widget so that the site visitors stay on your sales page instead of getting redirected to the Checkout Page, please follow these instructions:
Important: Your Funnel should be setup with at least one product prior to creating a Widget.
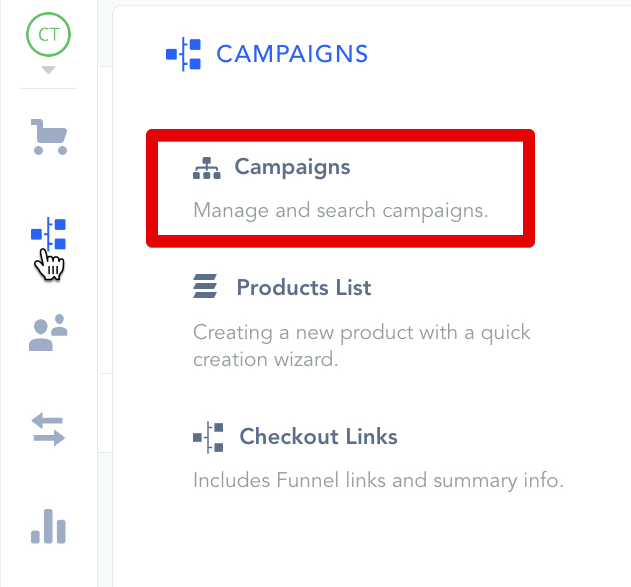
Step 1: Click on the “Campaign” button at the left navigation menu.
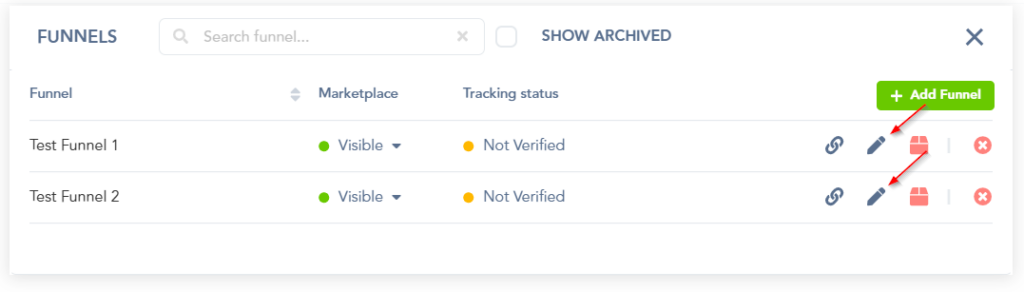
Step 2: Click on the “Pencil” icon of the specific funnel you are using the pop-up with.
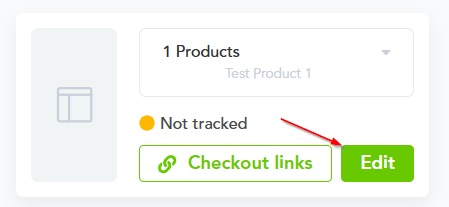
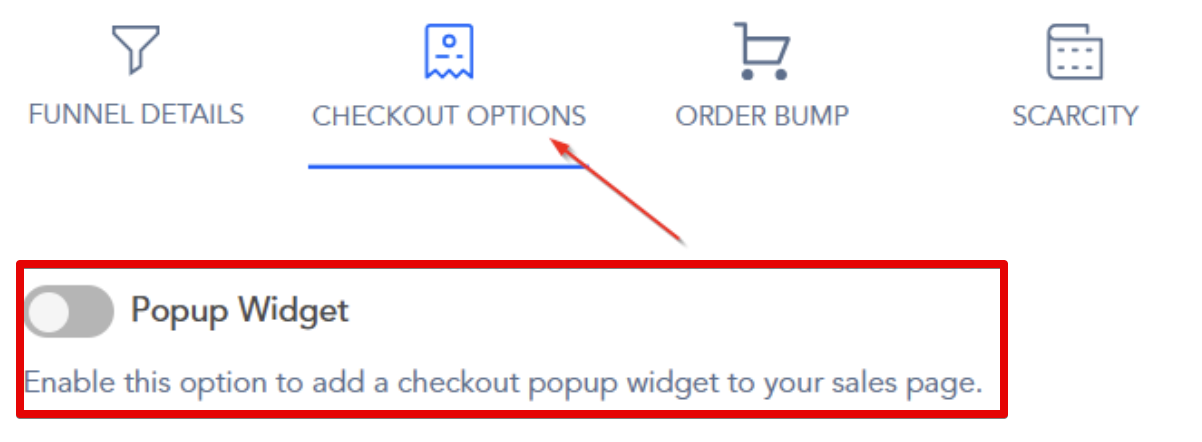
Step 3: Click on the “Edit ” button for the specific product in the Funnel.
Step 4: Enable the pop-up widget in the Checkout options.
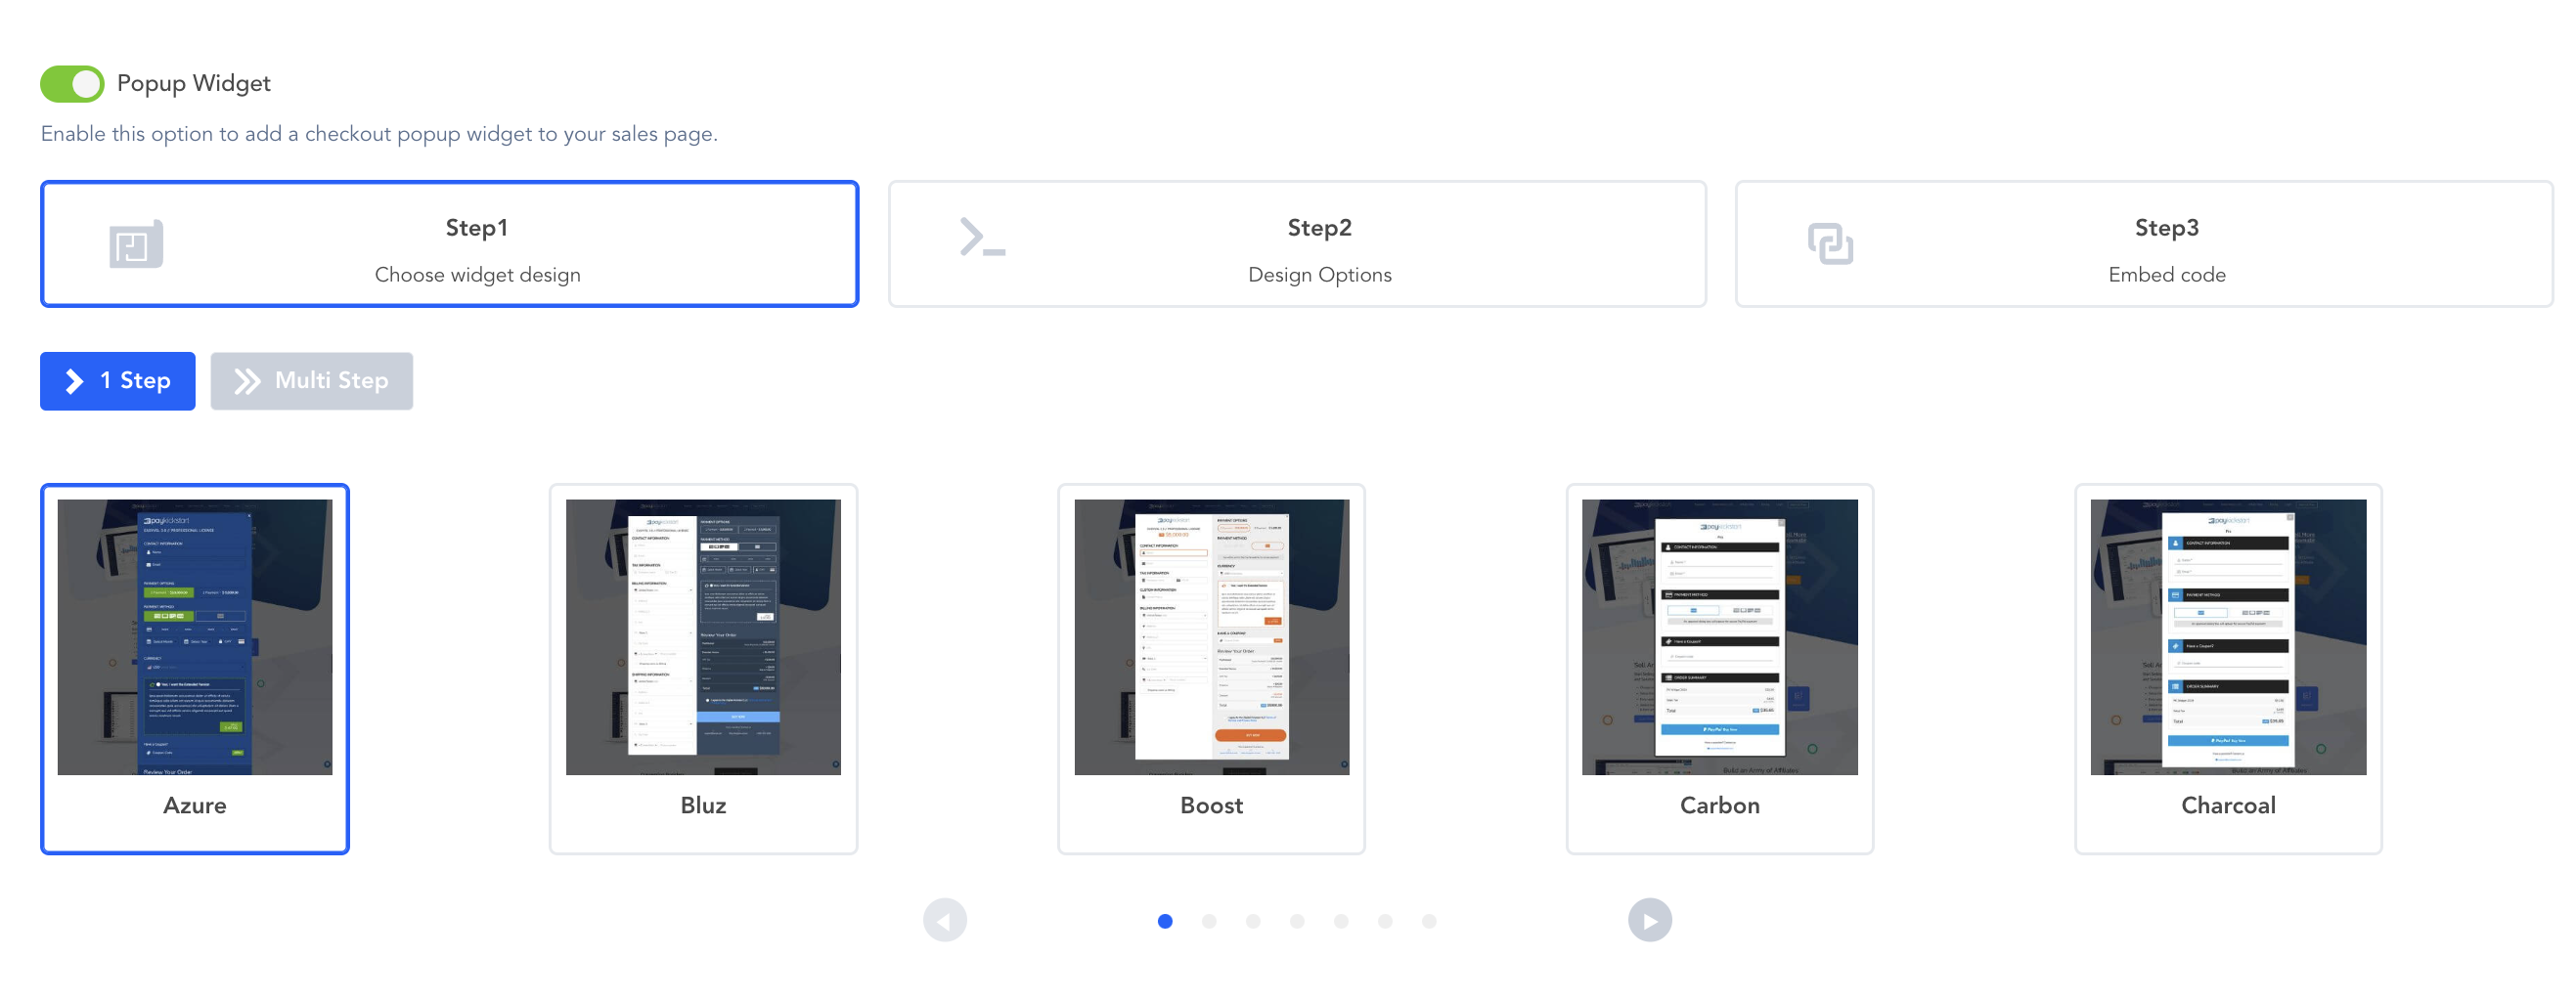
Step 5: Select your widget design.
Step 6: Next, copy the Embed Code of the Widget provided and paste it anywhere below the <head> tag of your webpage. This embed code is needed to allow the pop-up to function correctly.
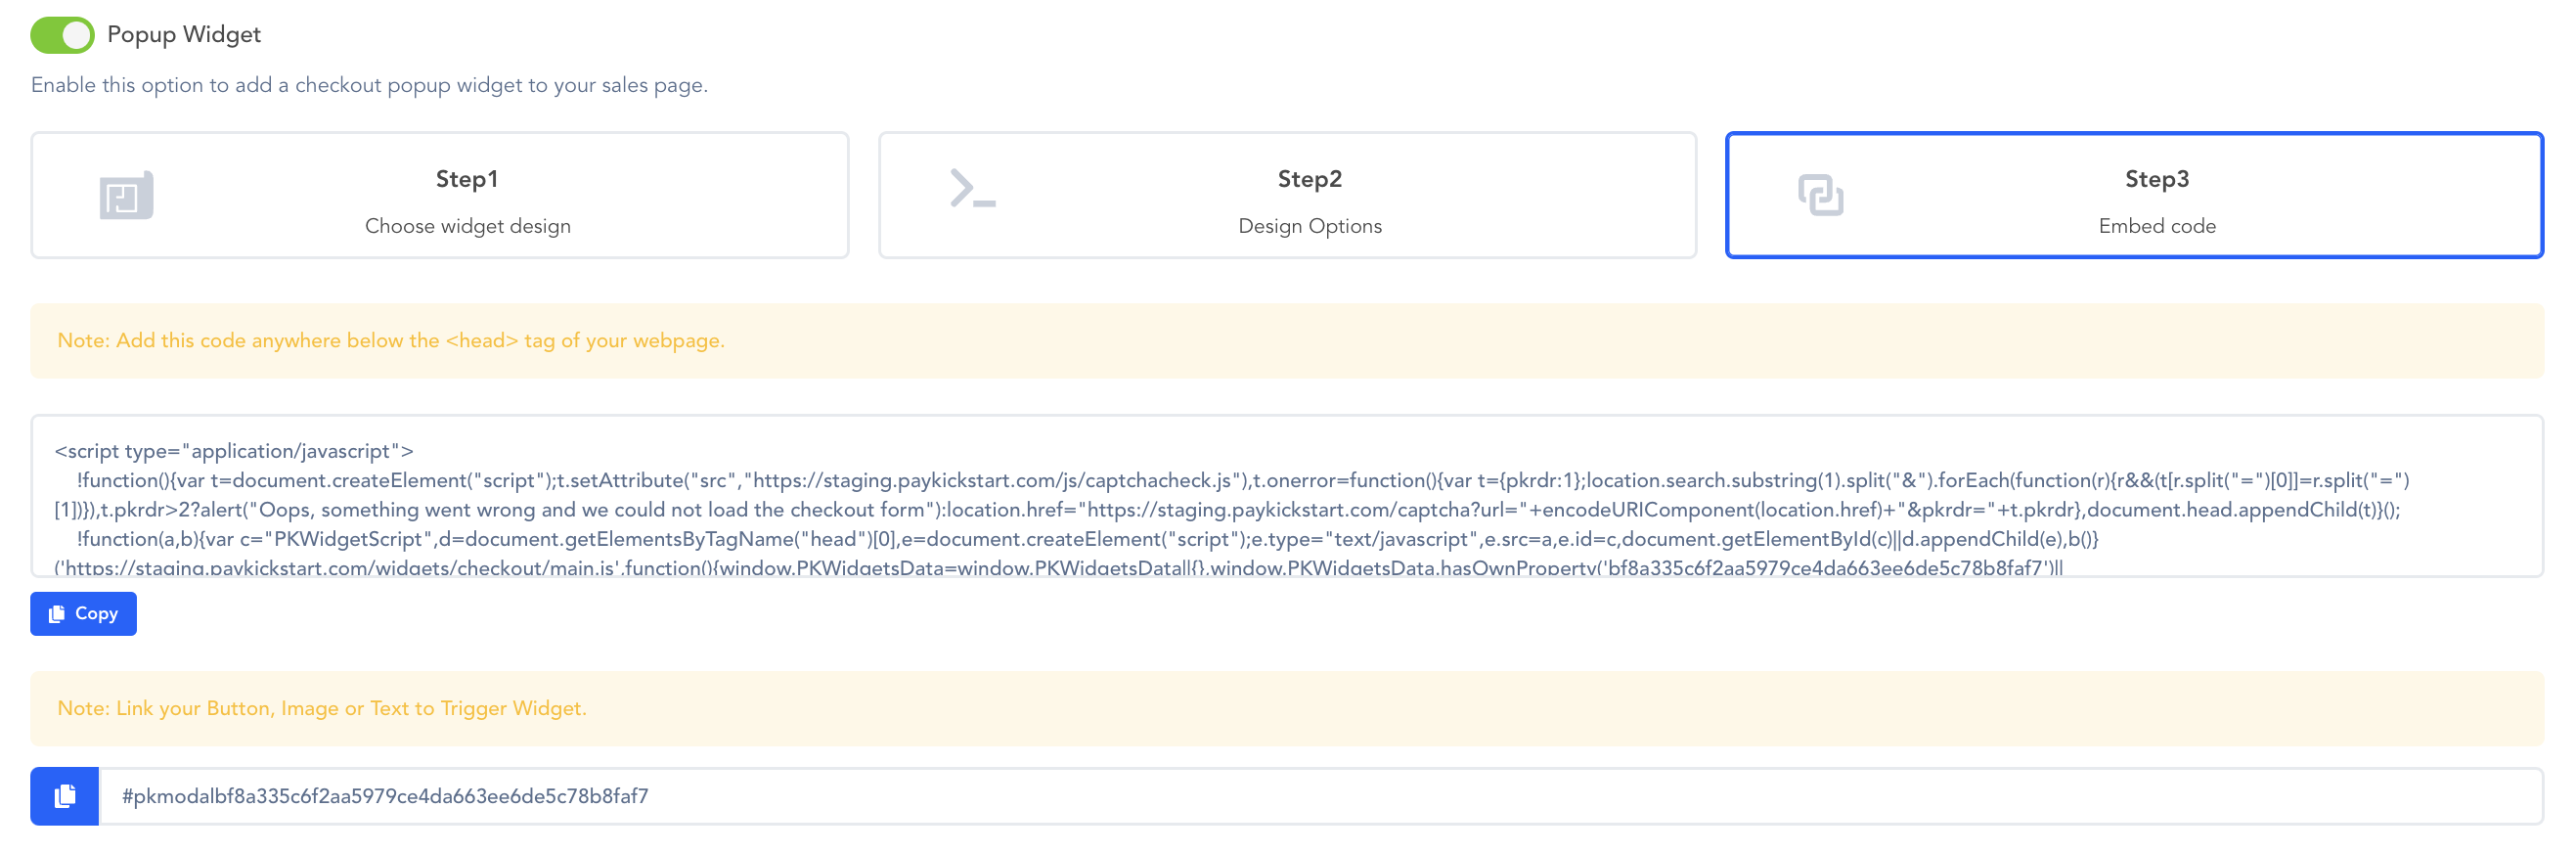
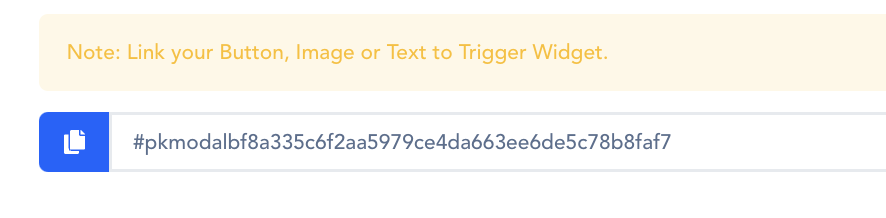
Step 7: Finally, link the “Buy Now” button on your sales page to the Widget.
PLEASE NOTE: The link must be embedded as an “href” link in order to properly function.
Example: <a href=“#pkmodal9c6ecc34c93889a0e4dbc8a2648b5d11cdfd4b45”>Checkout Button Wording</a>
After adding the link to your landing page, customers will be able to use the pop-up widget to purchase your products.
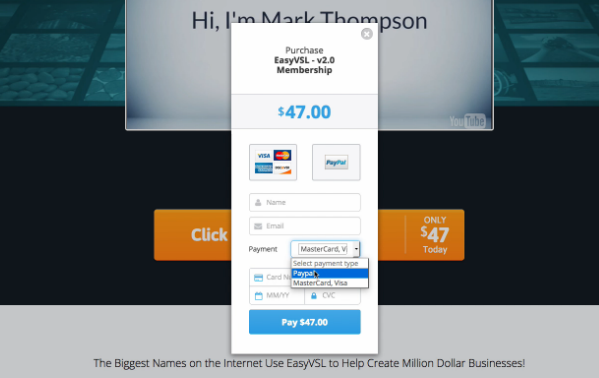
This is an example of how the widget will display when somebody clicks on the buy button of your sales page:
Please note: widget layout will vary depending on the selected pop-up template.