
To control whether Google Pay will be showing on your checkout forms or not, you would need to enable or disable Google Pay directly in your Stripe Account.
To start accepting Google Pay as a payment method on your checkout pages, you must first obtain a Merchant ID.
Please follow the instructions below:
Pre-requisite: In order to use the Google Pay integration, you must first integrate a Stripe account inside PayKickstart.
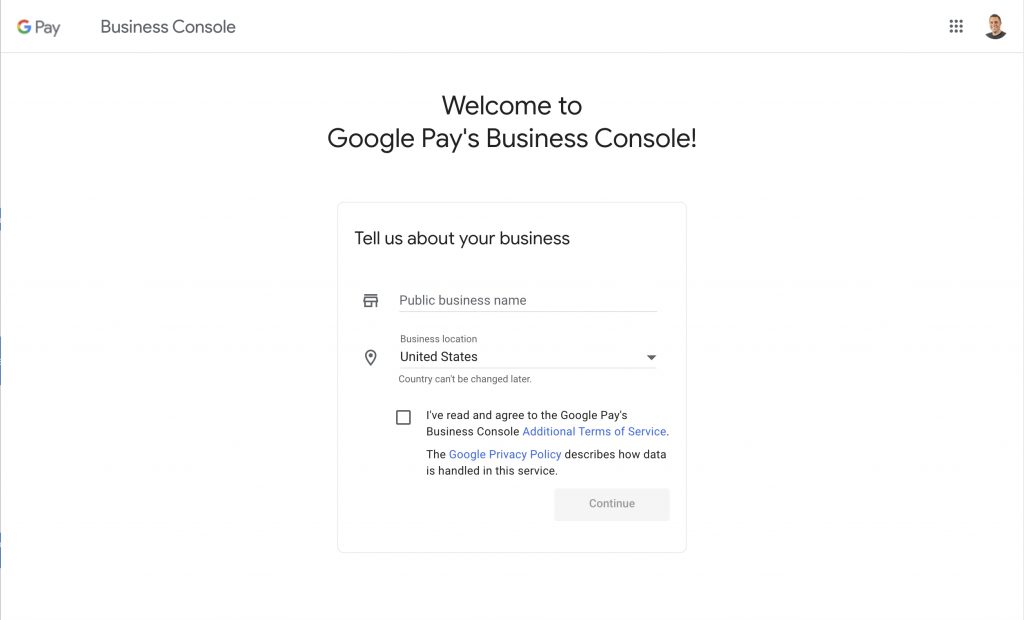
Step 1: Go to https://pay.google.com/business/console/ and enter a business name.
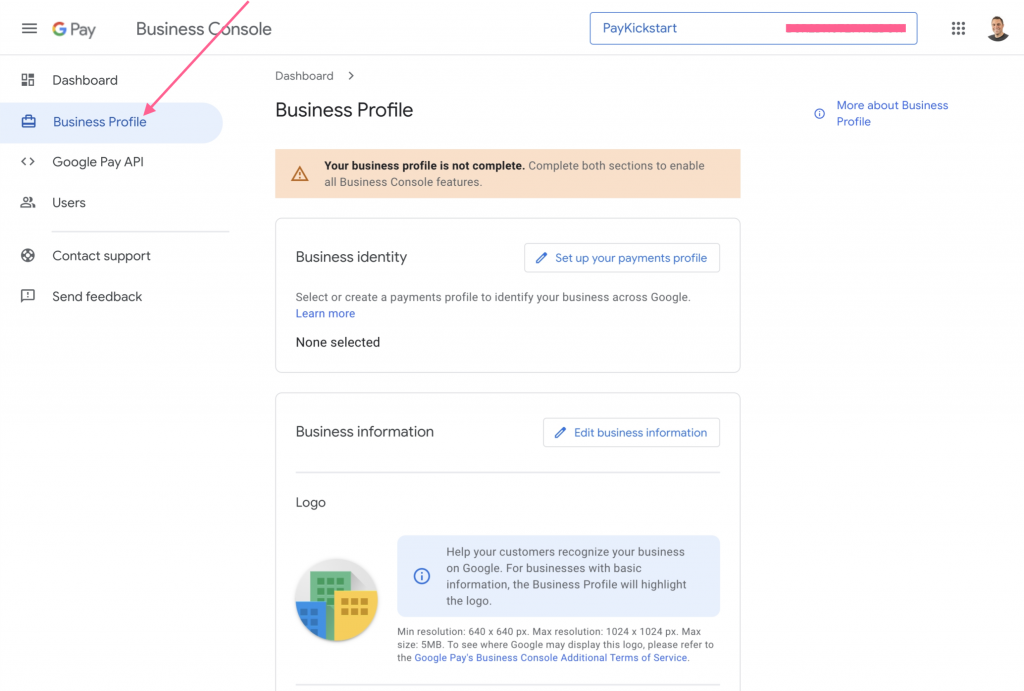
Step 2: Click on Business Profile and complete the profile. Once your business profile has been reviewed and approved, you will be able to move to step 3. (approval process takes about 24 hours, but sometimes within the hour)
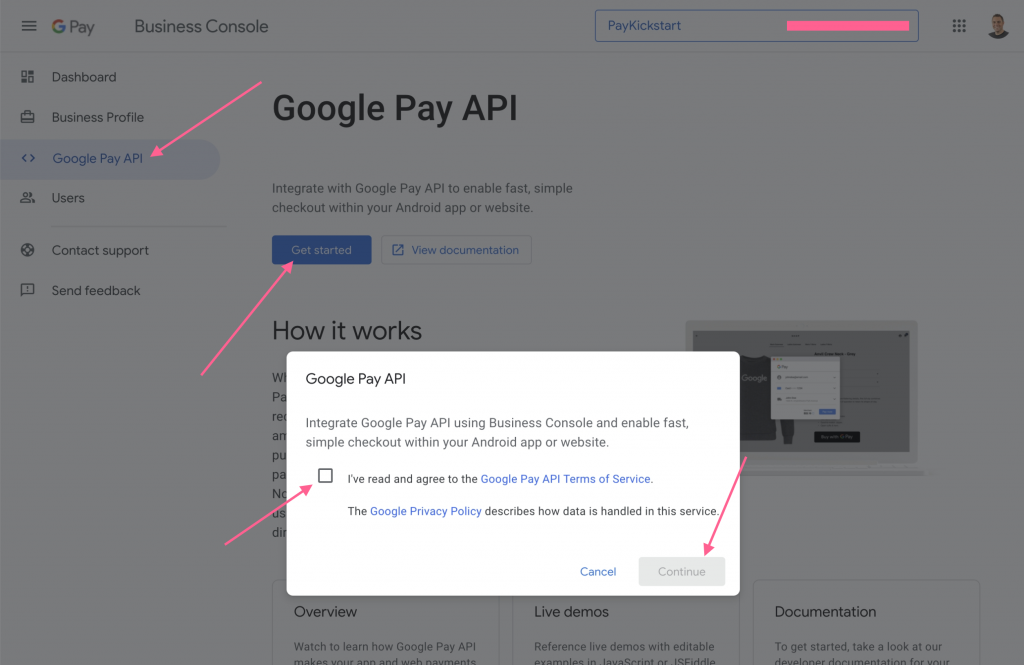
Step 3: Click on “Google Pay API” and click “Get Started” and accept their TOS.
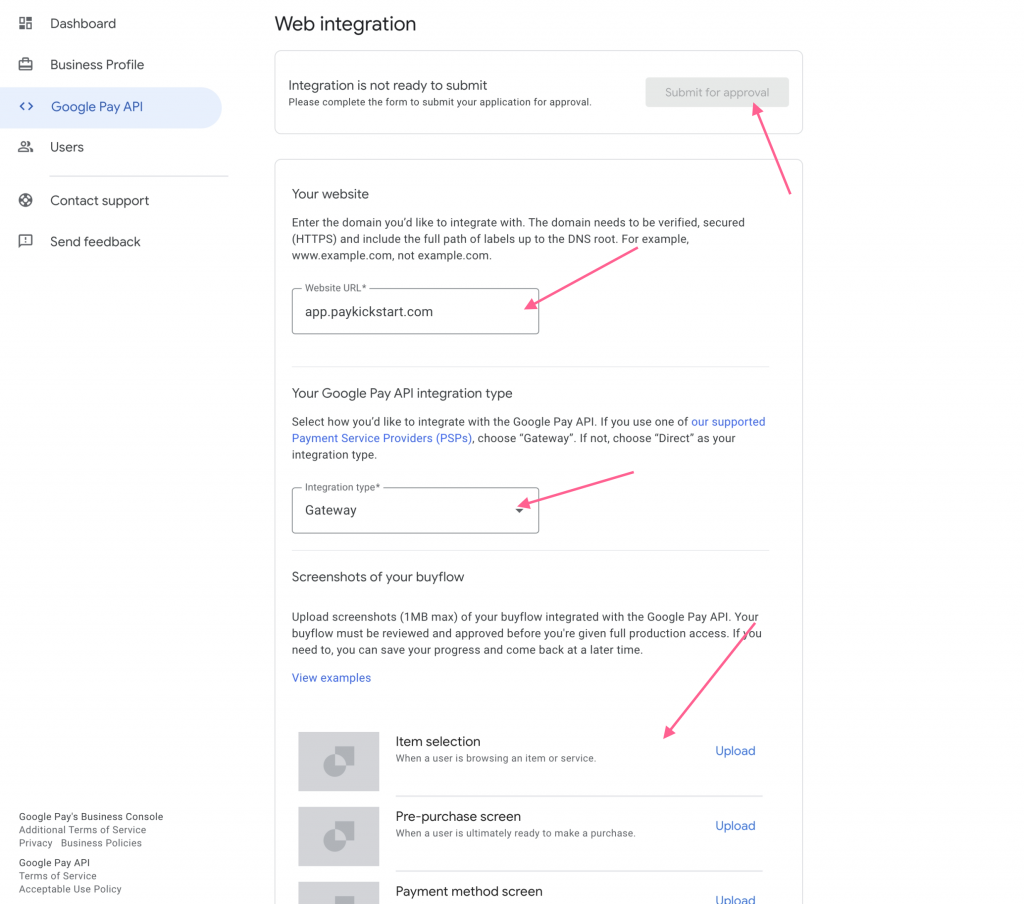
Step 4: On the next page, scroll down to “Integrate with your website” and click “Add website”. Enter “app.paykickstart.com” as your website URL field. The integration type will be “Gateway”.
Then you will need to upload screenshots for each step in the buyflow. You can view examples below. Please make sure to upload images of your own sales pages and checkout forms.
Then click “Submit for approval“. The approval process typically takes about 24 hours, but may be processed within the hour.
Item selection:

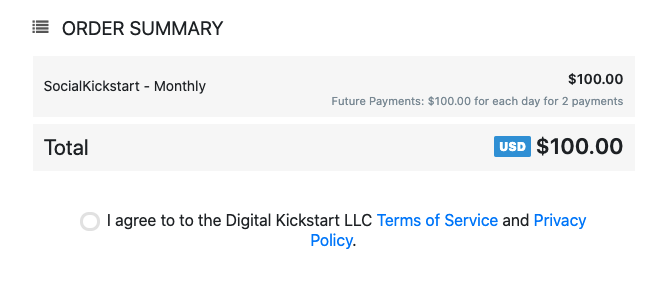
Pre-purchase screen:
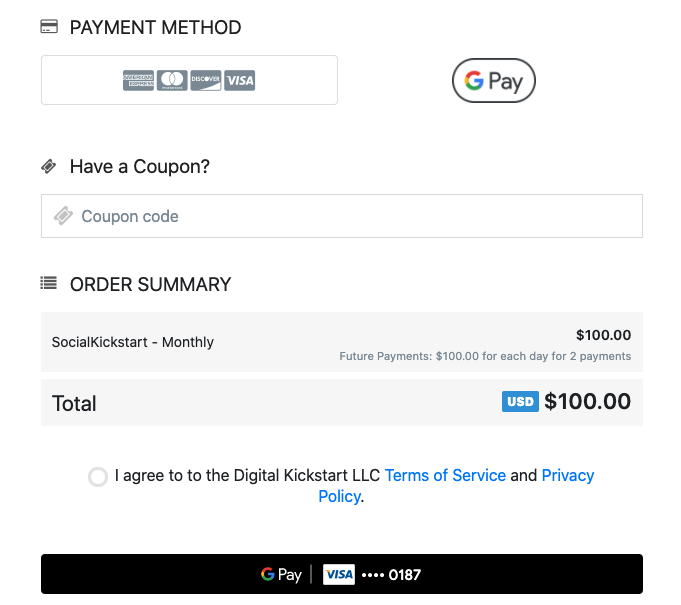
Payment method screen:
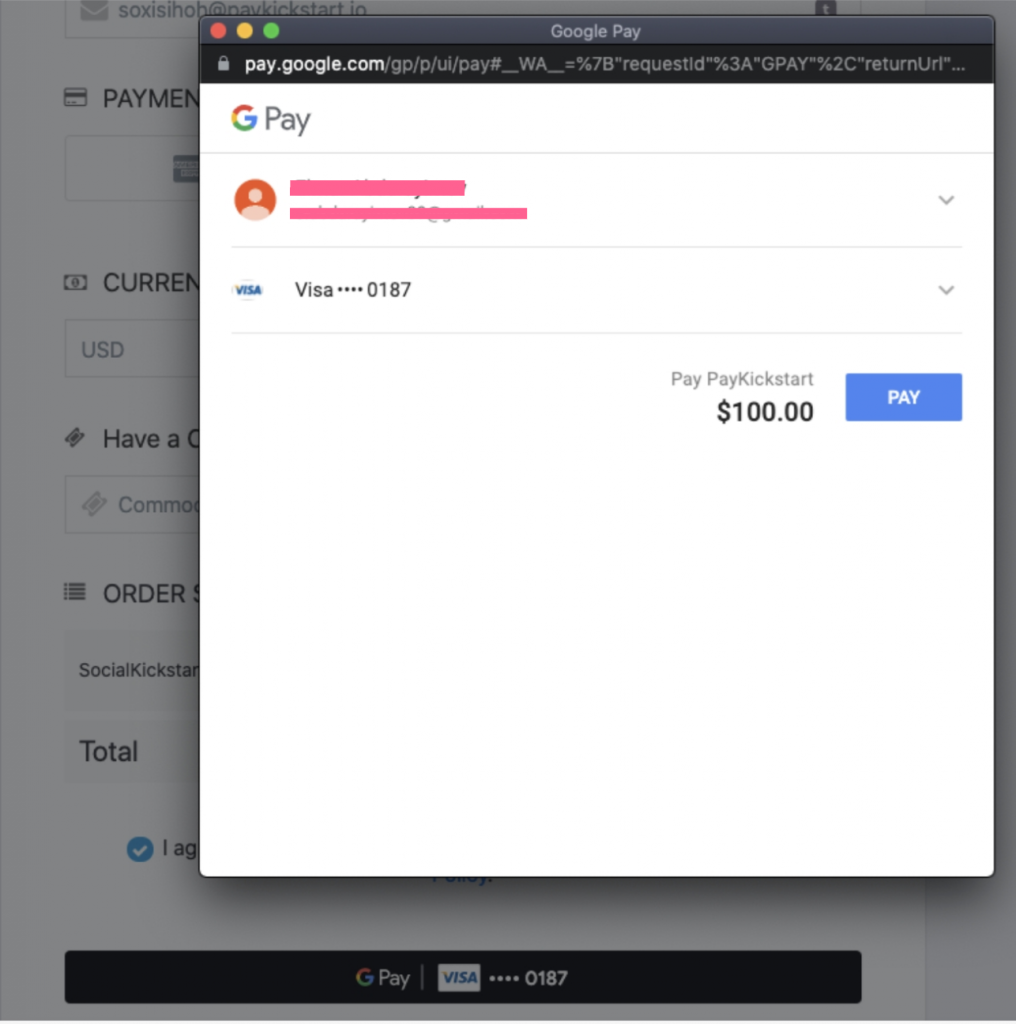
Google Pay API payment screen:
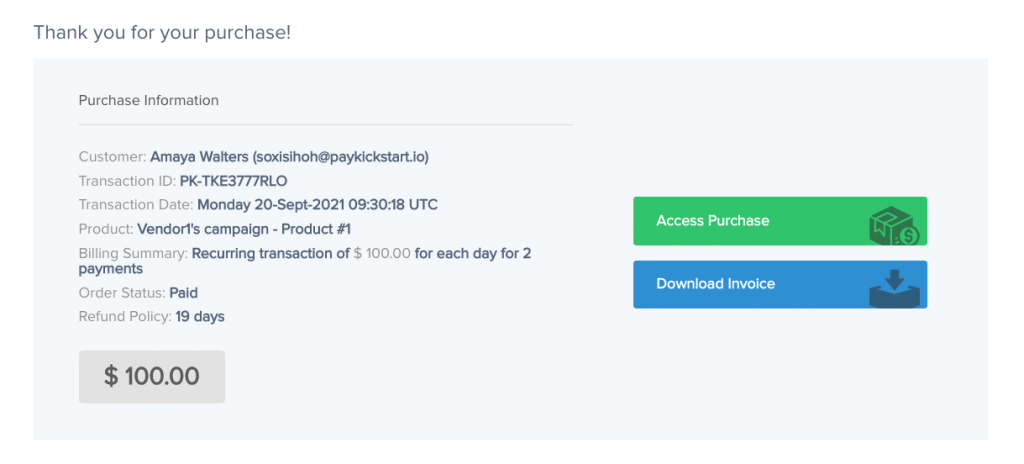
Post-purchase screen:
Step 5: Copy your Merchant ID inside of PayKickstart
In the Configure > Integrations section choose the option to edit your Stripe account. Then select Enable Google Pay and paste your Google Merchant ID into the field.
Update your Stripe integration and you will now be able to process payments via Google Pay.
Step 6: Ensure that Google Pay is enabled in your Campaign’s settings. Next to your Stripe integration, make sure you have checked the option for Google Pay to start accepting payments via Google Pay on your checkouts:

Once you Update your Campaign’s settings, the Google Pay option will now appear on your checkout forms.
Google Pay is now enabled for Braintree, allowing vendors to offer a convenient and secure payment option to customers.
Pre-requisite: In order to use the Google Pay integration, you must first integrate a Braintree account inside PayKickstart.
Step 1: Go to https://pay.google.com/business/console/ and enter a business name.
Step 2: Click on Business Profile and complete the profile. Once your business profile has been reviewed and approved, you will be able to move to step 3. (approval process takes about 24 hours, but sometimes within the hour)
Step 3: Click on “Google Pay API” and click “Get Started” and accept their TOS.
Step 4: On the next page, scroll down to “Integrate with your website” and click “Add website”. Enter “app.paykickstart.com” as your website URL field. The integration type will be “Gateway”.
Then you will need to upload screenshots for each step in the buyflow. You can view examples below. Please make sure to upload images of your own sales pages and checkout forms.
Then click “Submit for approval“. The approval process typically takes about 24 hours, but may be processed within the hour.
Item selection:
Pre-purchase screen:
Payment method screen:
Google Pay API payment screen:
Post-purchase screen:
Step 5: Copy your Merchant ID inside of PayKickstart
In the Configure > Integrations section choose the option to edit your Braintree account. Then select Enable Google Pay and paste your Google Merchant ID into the field.
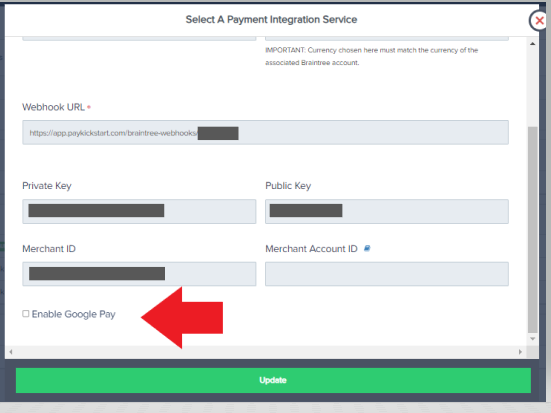
Update your Braintree integration and you will now be able to process payments via Google Pay.
Step 6: Ensure that Google Pay is enabled in your Campaign’s settings. Next to your Braintree integration, make sure you have checked the option for Google Pay to start accepting payments via Google Pay on your checkouts:
