The checkout page builder allows you to customize the checkout page for each product.
It can be found under the vendor navigation, under “Campaigns” >> Edit Product >> Under Step 2(Checkout page)

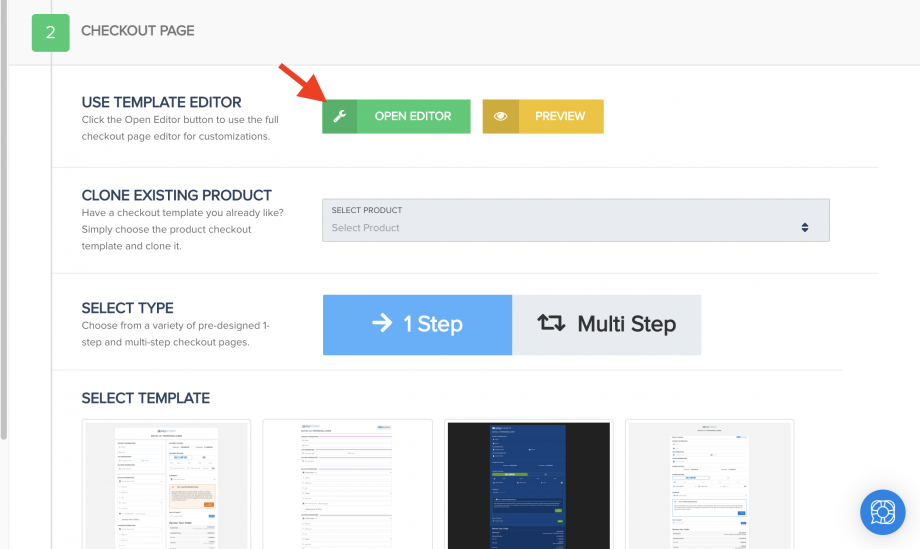
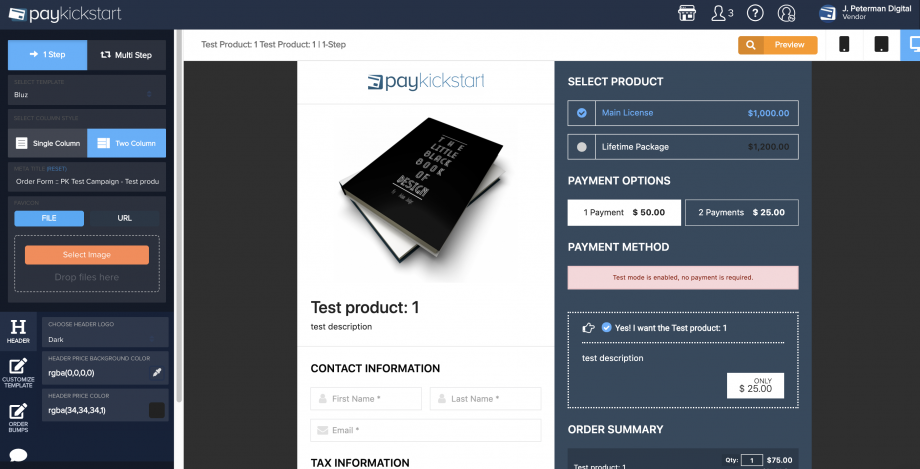
NOTE: This is not the final look of the checkout page, but rather a visual representation of what the final checkout page can look like with the different product settings available. Live checkouts will be located in the sales funnel section after adding the product to a funnel.
Left side: Options
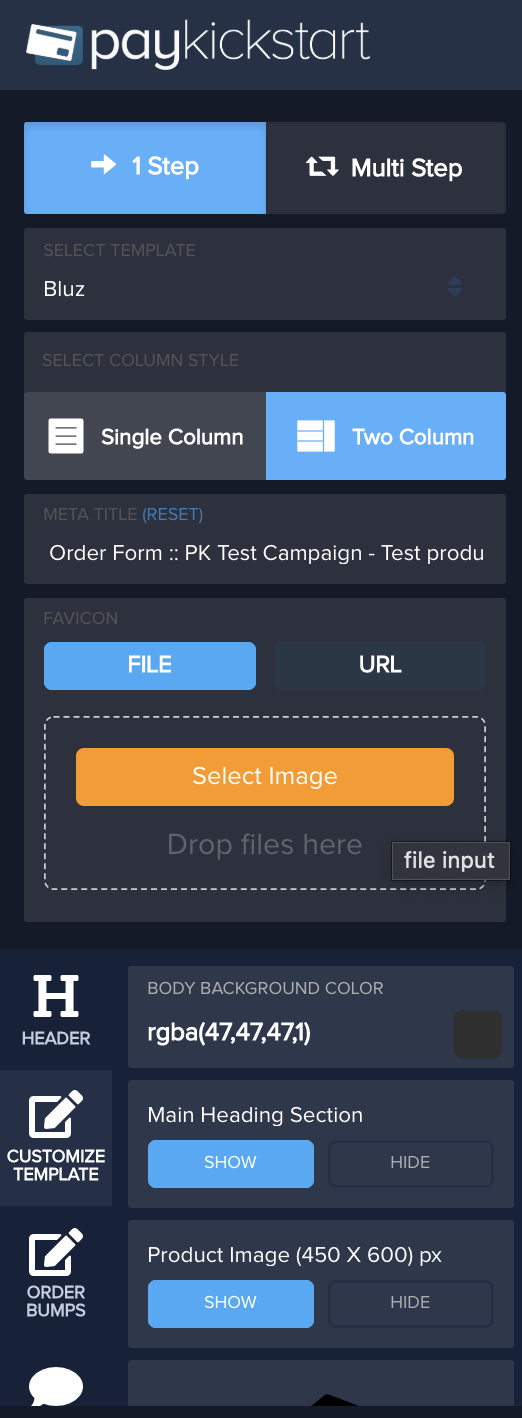
The left side of the editor is where you can make your edits to the checkout page look.
NOTES:
- If using a 1 step-template you have the option to set the checkout page using 1 or 2 columns.
Please note, that not all “New” Checkout templates offer both 1 and 2 column layouts.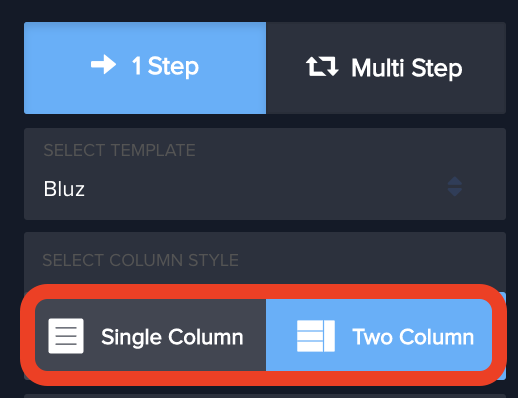
- If you would like to add a video to the checkout page, follow the instructions on the article here.
Right Side: Click and Edit options / Preview
The right side will show you a live preview of what the checkout page will look like.
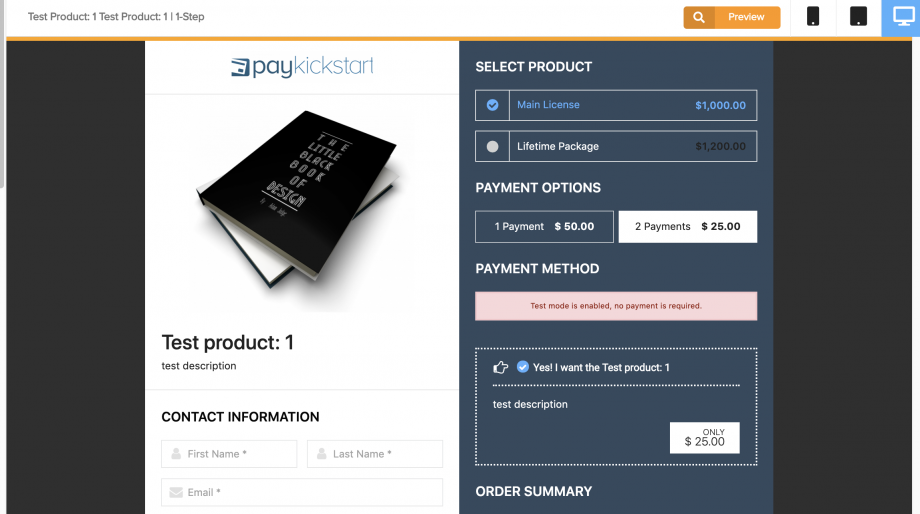
Note: The Logo on the top left of the checkout page is pulled from the Campaign options.
If you would like to use Checkout Widgets instead of Checkout Pages, please click here.
PLEASE NOTE: features such as order bumps(why you see the double price) and the multiple product options will appear on checkout templates as a visual example of what they “would” look like if added to your checkout.
These additional options can be enabled via the sales funnel and will NOT show on your live checkouts unless actually enabled via the sales funnel settings.
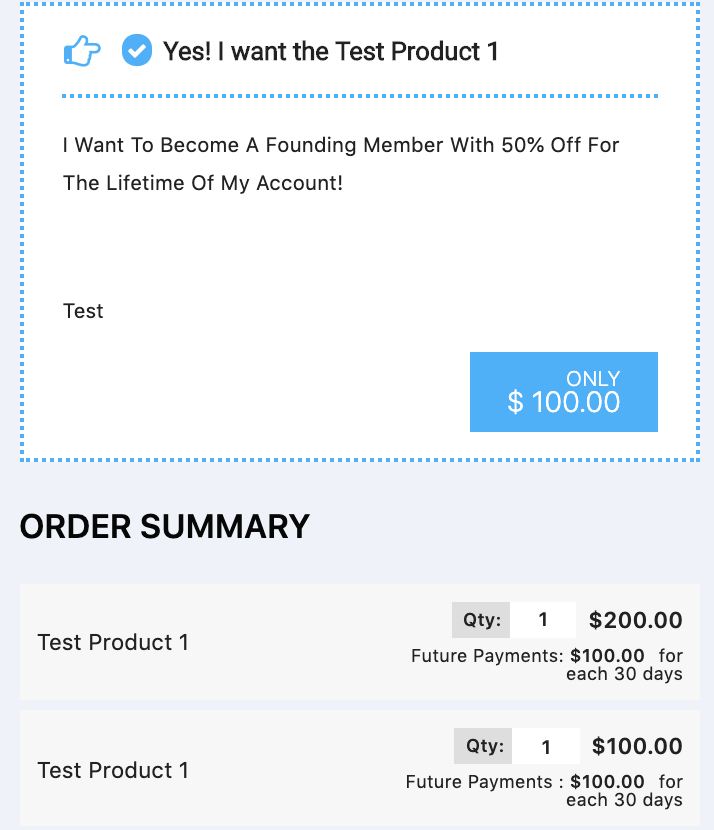
How to enable an order bump on your live checkout
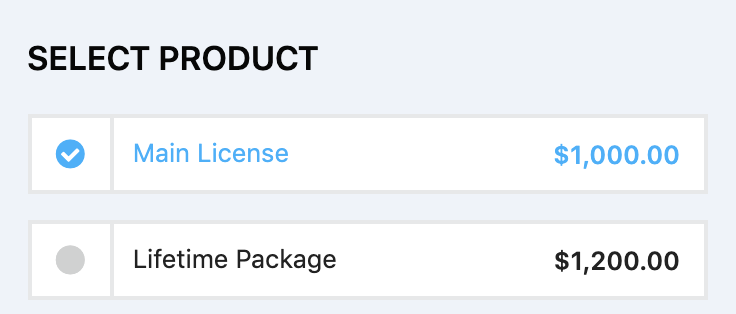
How to enable multiple product options on your live checkout
These additional options can be enabled via the sales funnel and will NOT show on your live checkouts unless actually enabled via the sales funnel settings.

How to enable an order bump on your live checkout

How to enable multiple product options on your live checkout
