
This tutorial will guide you through the process of integrating Thinkific membership service to your campaign and products.
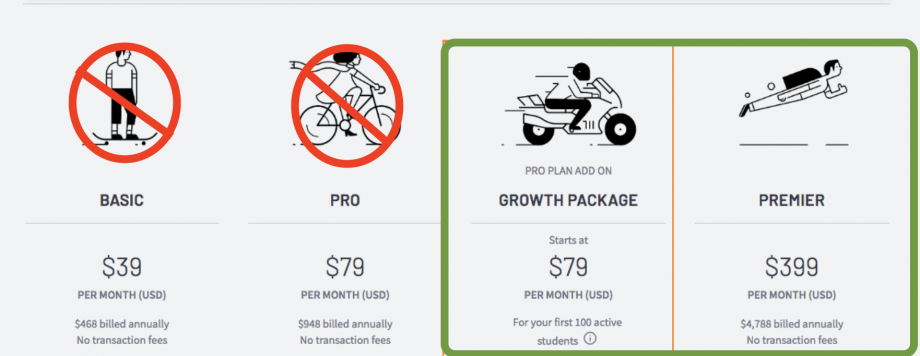
The Thinkific public API is only available with the Growth and Premier Thinkific Plans:
Step 1:
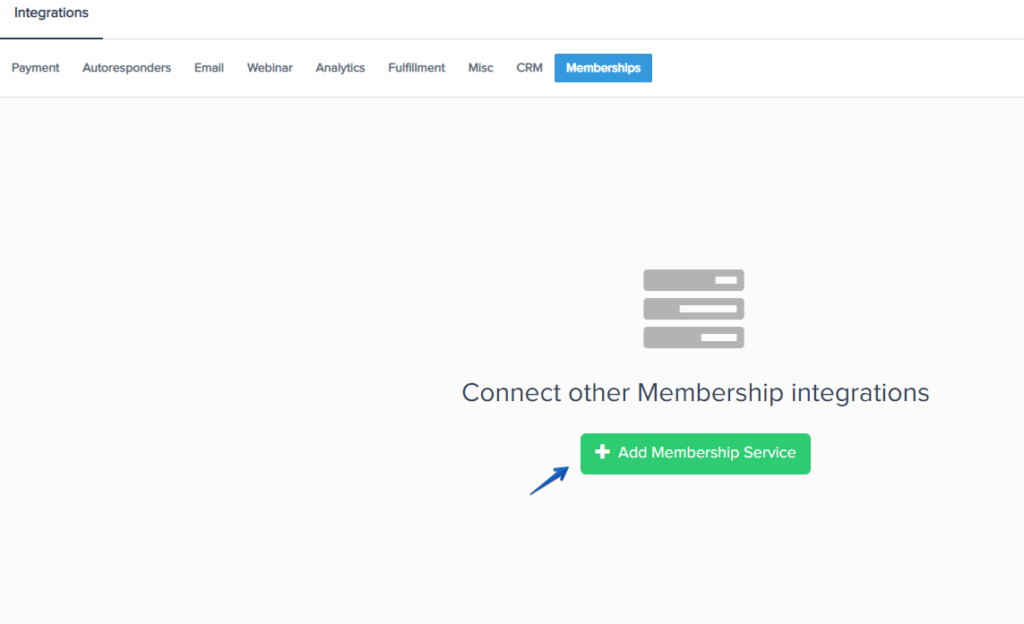
Access the Configure > Integrations section in the left-hand sidebar of your PayKickstart dashboard.
Then, select the Memberships tab and choose the option to add a new Membership integration:

Step 2:
Select Thinkific and enter an Account Name used for your own reference within the account.
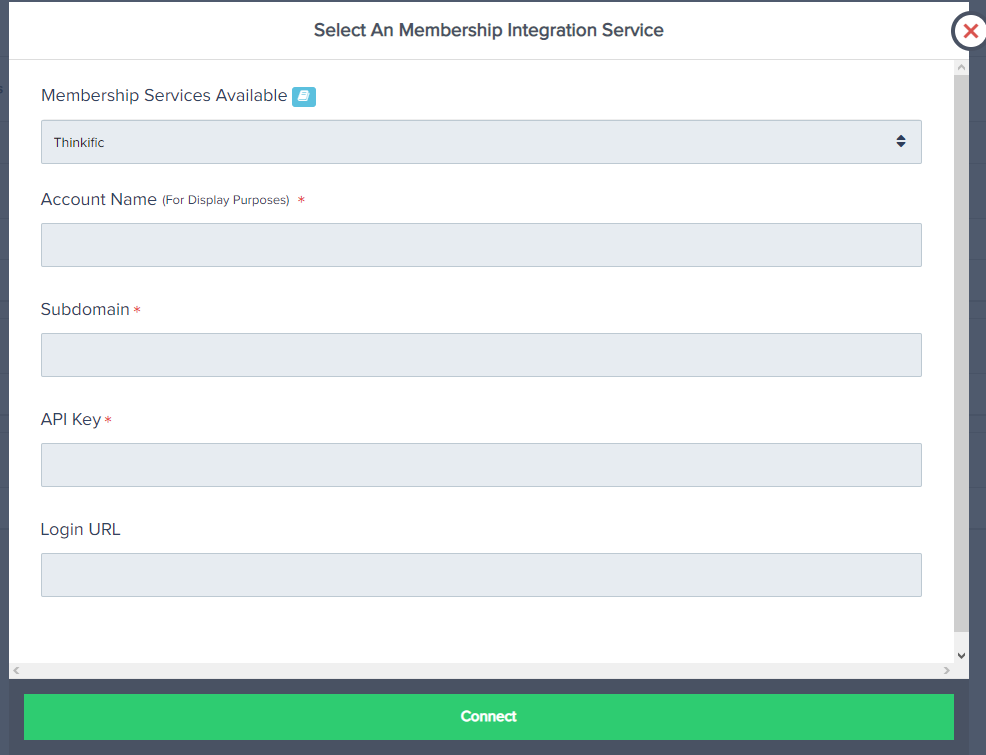
You will need to enter the Subdomain, API Key and the Login URL.
- Grab your Thinkific API Key and Subdomain from your Thinkific account as seen below:

- Login URL: The URL of the Membership Area Login page emailed to the customer along with their credentials.
Once this information has been entered Select ‘Connect’
You have now integrated Thinkific and can now add the integration to specific Campaigns and Products.
Step 3:
In the ‘Campaign settings’ you wish to use the integration with, scroll down until you see the ‘Membership Integration’ option.

Make sure the Membership integration option is enabled, then save your Campaign:

Step 4:
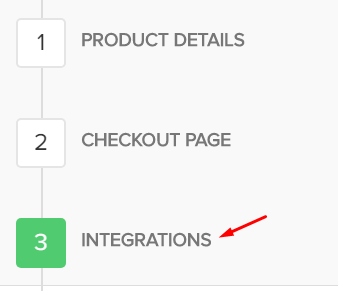
In the Product settings, select Step 3 (Integrations) to open up your integrations settings for the product.
In the Product settings, select Step 3 (Integrations) to open up your integrations information.
Go to Integrations and enable Membership Integration.
Then select the Thinkific integration and the “Level/Course” the customer should be added to for that product purchase.
#1: Enable the membership integration option and click the button to Add a new integration:

Select the Membership integration service and select the Level the product is related to, then confirm your choices by clicking on Add again.
You will now have a membership integration added, and if needed you can add another integration or level to the same product:
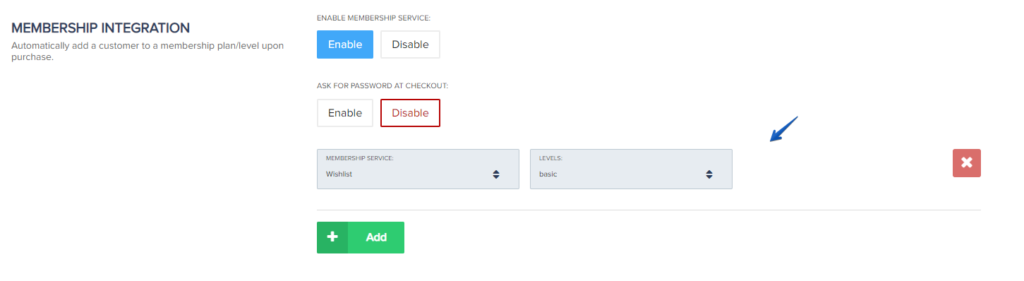
#2: (Optional) If you want to allow the customer to choose their own membership password at checkout, then enable this option. If you want to provide the customer with an auto-generated password, leave this option disabled.
IMPORTANT NOTE FOR PASSWORD FIELDS: If you are also offering an order bump or upsell product with a membership integration in the same funnel, the order bump or upsell purchase would use the chosen password set for the first product(Front end) purchase. AND, If the customer already exists in the Membership service, then CUSTOM PASSWORD functionality will not assign the customer a new password, but instead, provide the customer with their previous set password to access the membership.
In your Thinkific account, locate the ID for the related bundle.
Screenshot: https://monosnap.com/file/XAXYYQYRKrs8BXOcQi1PigWRl05HiC
Use this ID in the integration settings for the related bundle.
Screenshot: https://monosnap.com/file/pLinP5EjGvmjGqT1ZE5fxrSy7NDQH4
Leave the level field blank as you are using a bundle id
After selecting the membership and level/plan/course click save in the top right of the page to save the product settings.
After you save the integration settings for the product, the customer would receive login access to the membership platform after purchase.
If the purchase is related to a subscription, access to the membership would be controlled automatically by the customer’s subscription status in PayKickstart.