Adding order bumps is a great way to increase the average transaction value of a customer. Order bumps will allow your customers the option to add additional products to their purchase before checking out.
For example: You are selling a physical book for $47.00 – you could add an order bump where the customer can add the digital version of the book for an additional $10.00, totally $57.00 when they finalize their order.
– Order Bump products inherit affiliate commission and payment settings from the main product they are attached to.
– Order Bumps can be used on checkout pages, checkout embed forms or checkout pop-up forms.
– Order Bumps will NOT use Split-pay options. They will charge the main price for the purchase of the bump.
– Order Bumps will NOT apply to products being used as 1-click upsells since upsells are a simple 1-click purchase for customers. The 1-click feature must be disabled for the campaign if you want to offer order bumps on an upsell product so the customer can select the order bump in this case.
-Order Bumps will create a separate transaction for each purchased bump. You can issue refunds for order bumps, or the main product separately.
Here is how you set up order bumps in PayKickstart.
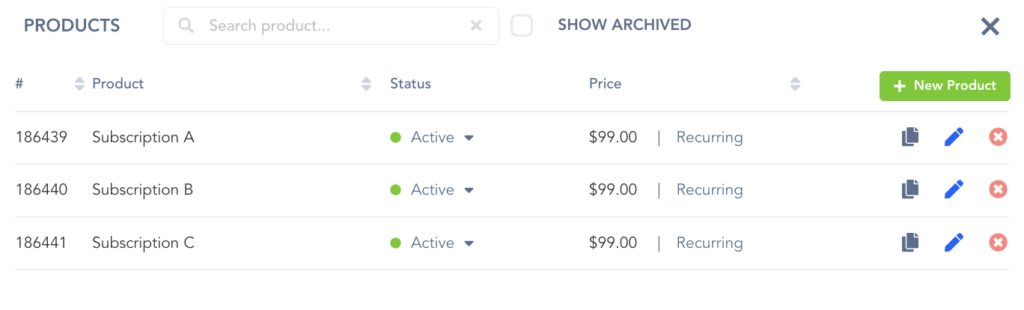
Step 1: Make sure the offers which you want to use as your Order Bumps are created as a product in at least one of your campaigns.
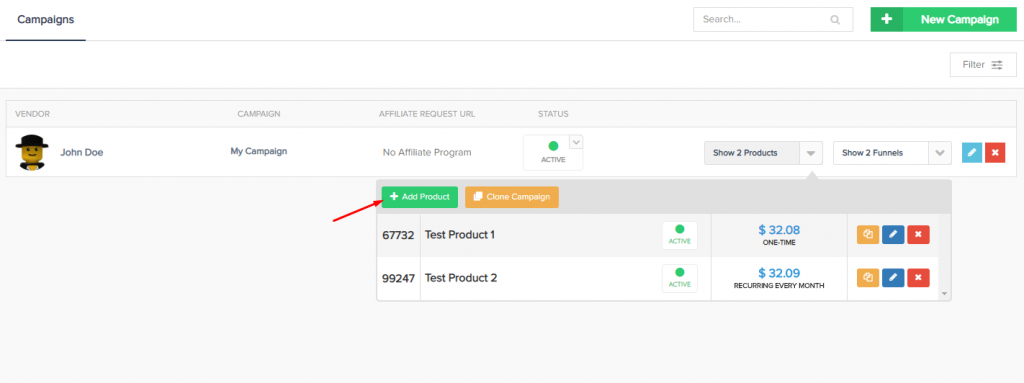
Step 2: Click on “Campaigns” then click the Manage icon to whichever Funnel you are looking to add the order bumps to.
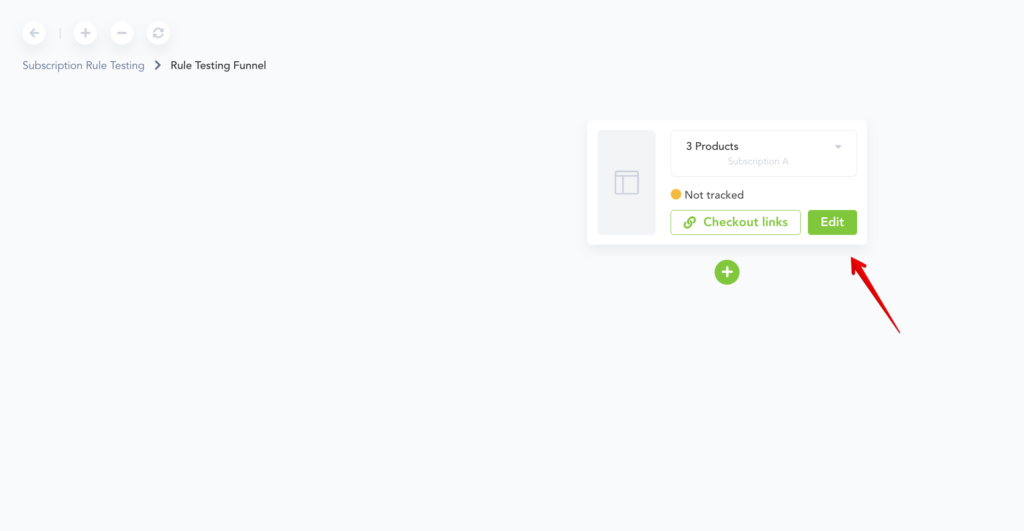
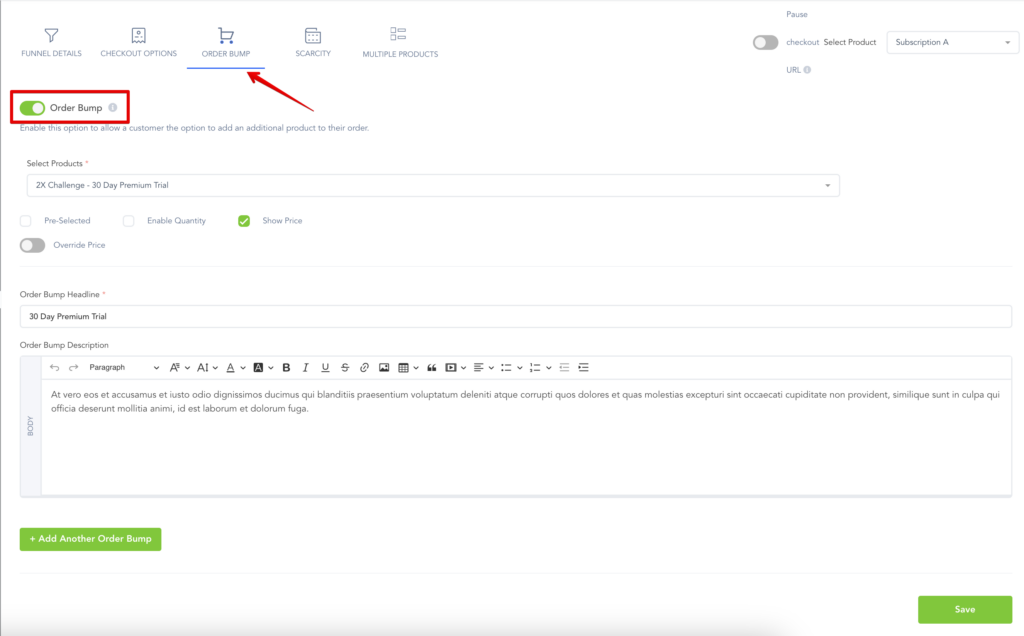
Step 3: Inside of the funnel editor, click on the “Checkout Options” for whichever product you want to add the order bumps to.
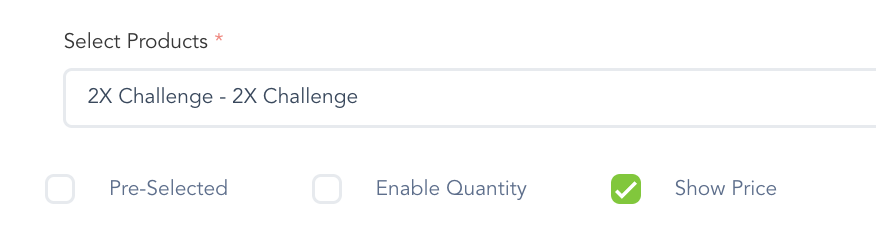
Step 4: Toggle the Order Bump to enable it, then choose the product you want to add as the order bump, give it a price, and set your order bump description text. You can also add an image to the order bump using the description field if you want.
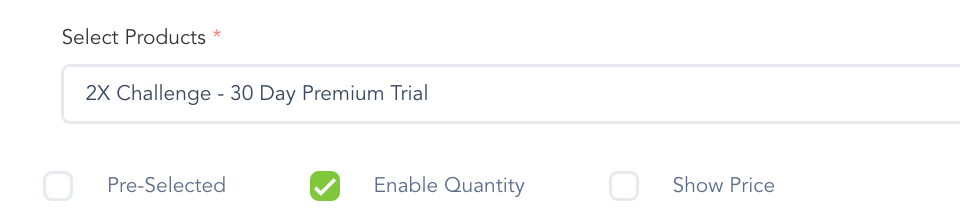
If you want to allow the customer to select a quantity for the order bump you can enable the quantity feature on the order bump settings.
You can also enable the order bump to be pre-selected on the customer checkout.
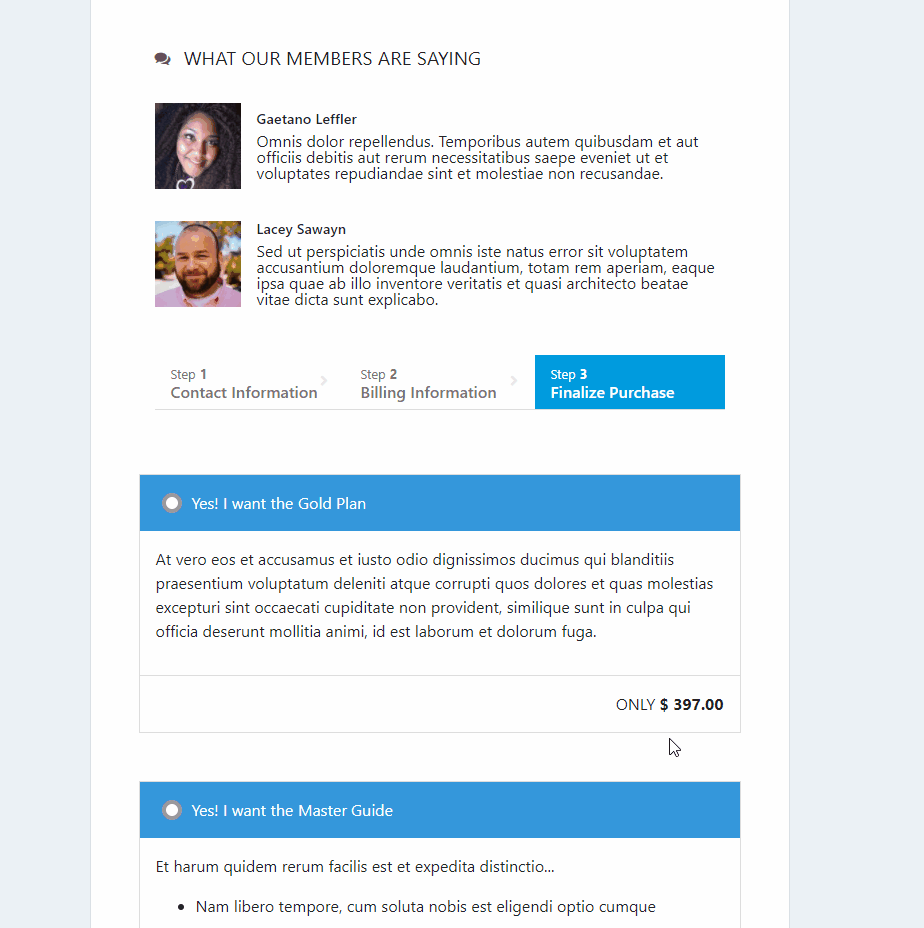
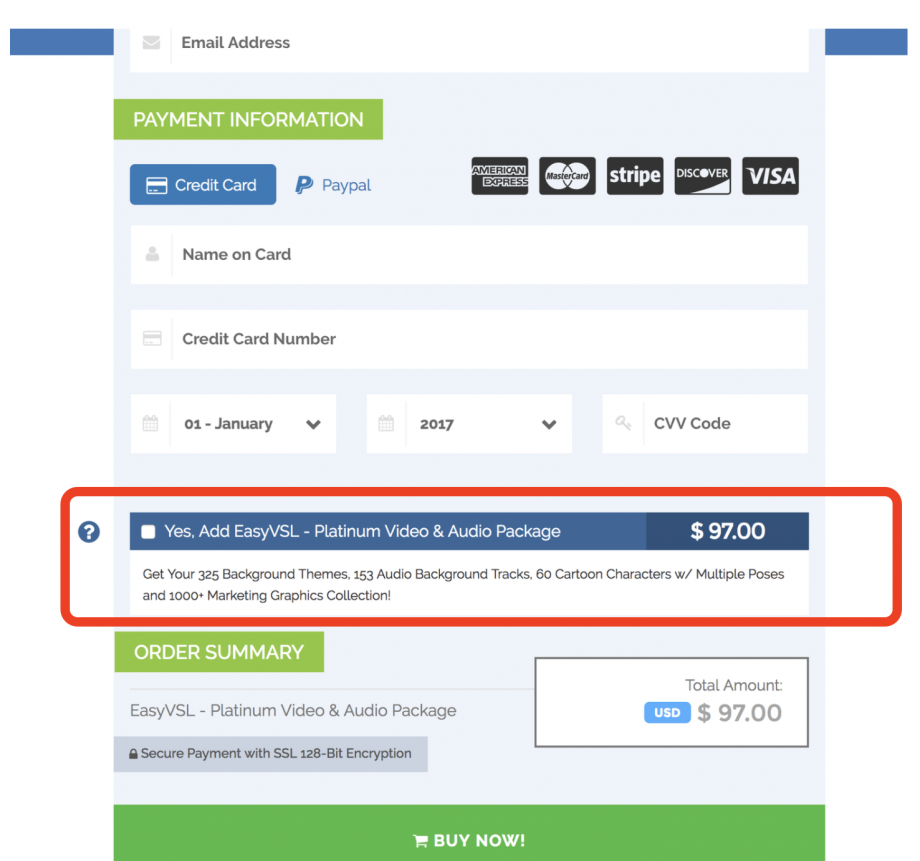
That’s it! Your order bump is now added automatically to your checkout. It will look something like this once enabled.
Adding Multiple Order Bumps to your checkout forms
To add another Order Bump, click on the Add Another Order Bump button:
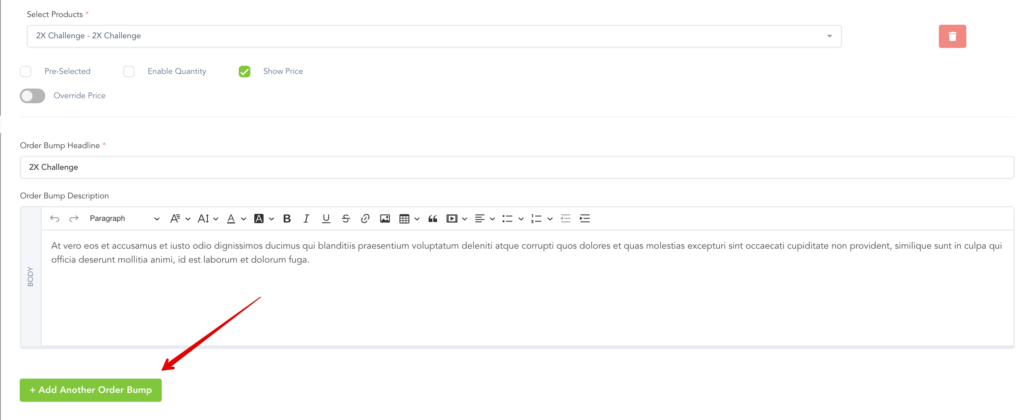
Then, select the next product you would like to add to your checkout form as seen at Step 4, and save the order bump.
Repeat this process if you wish to add more order bumps.
Once added, customers will be able to add multiple additional offers to your main product offer: