

In this tutorial, learn how to integrate with SendReach autoresponder service using PayKickstart’s API integration.
Step 1: Log into your PayKickstart App
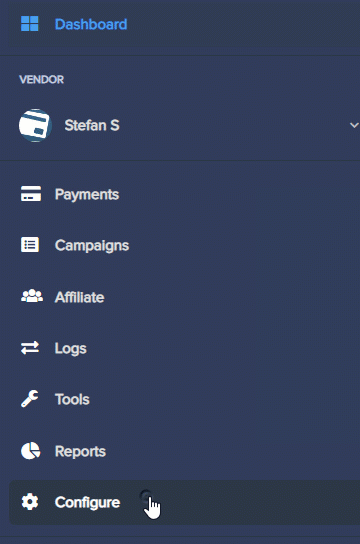
Step 2: In your Vendor Dashboard, click the drop-down box at the top, right-hand portion of your page where your name and profile image is located. In the drop-down, select ‘Integrations’.
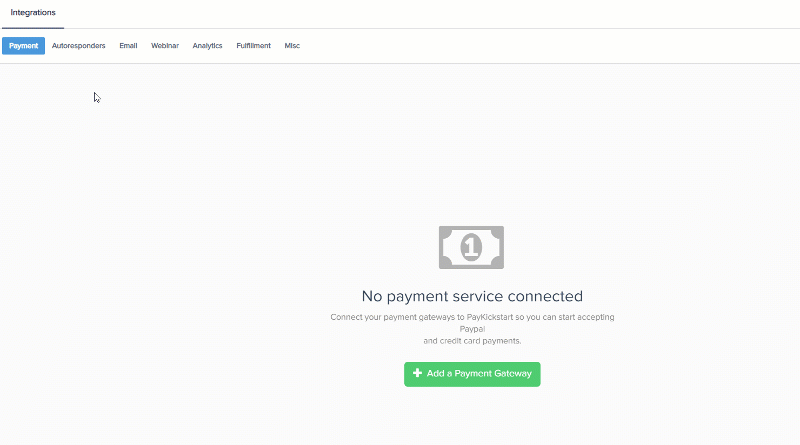
Step 3: First, you’ll need to integrate on your main integration page. To do so, click on ‘Auto Responder’ at the top of this page, then, Click ‘Add an Email Integration’.
Step 4: Choose ‘SendReach’ on the dropdown menu for ‘Email Services Available’.
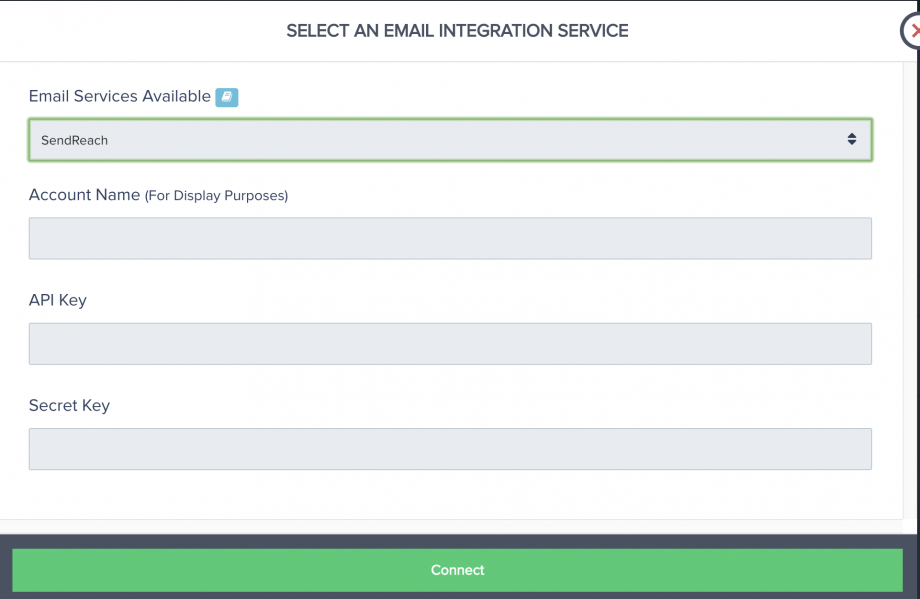
Step 5: Enter your SendReach account name, API Key, and Secret Key and click ‘Connect’.
To find the API Key and Secret Key, follow the steps below:
- On your SendReach dashboard, click on the human icon on the right side menu to go to your account settings page.
- On your account settings page, click on the My Apps link on the left side menu.
- Once on the My Apps page, click on the Create New App button.
- Label or name your app that will be connected to your PayKickstart account. This is for identification purposes. You can put any name you want so as long as you can identify that it is used for your PayKickstart account. Click the Submit button after naming your app.
- Copy your User ID, your App key (short string of numbers) and App Secret (long string of numbers) from this page, and head back over to your PayKickstart app to input the information.

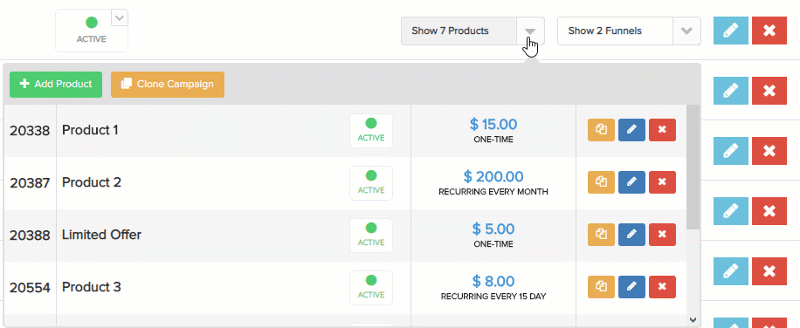
Step 6: Once you’ve connected, you’ll need to go to ‘Campaigns’ on the left sidebar of your dashboard. Here, you’ll see your campaigns listed. Choose the PRODUCT that you want to integrate SendReach with and select “edit product settings“.
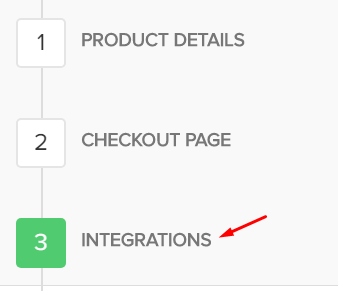
Step 7: In the Product settings, select Step 3 (Integrations) to open up your integrations information.
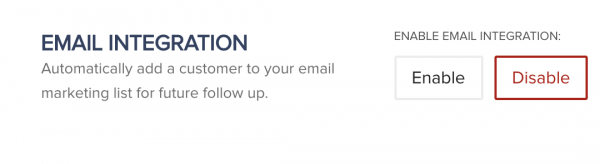
Step 8: In the product settings(integration section), please enable the email integration field and the action triggers you want to use with the product.
Step 9: If you’ve correctly integrated with the main area (steps 1-5 in this tutorial), then you can now select ‘SendReach’ in the Email Integrations.
- Choose ‘SendReach’ as your email service.
- Select your account under ‘Accounts’
- Select the list you want for this campaign under ‘lists’.
- Select ‘tags’ you want to add based on the customer action the integration is set up to trigger for.
*NOTE: You may have a list for every one of your products, so you’d want to choose the list associated with the product in this particular campaign.
*Note: Vendors can pass custom checkout fields they have added to their checkout pages, to their email auto-responder (as long as the email service supports it).
Now, when a customer purchases your main offer product, they’ll automatically be added to this SendReach list that you’ve chosen.