
In this tutorial, you’ll learn how to integrate with GetResponse using PayKickstart’s API integration.
First. Contact your GR360 rep to find out which API URL you should be using. It will be either…
- https://api3.getresponse360.pl/v3
- https://api3.getresponse360.com/v3
Then…
Step 1: Log into your PayKickstart App
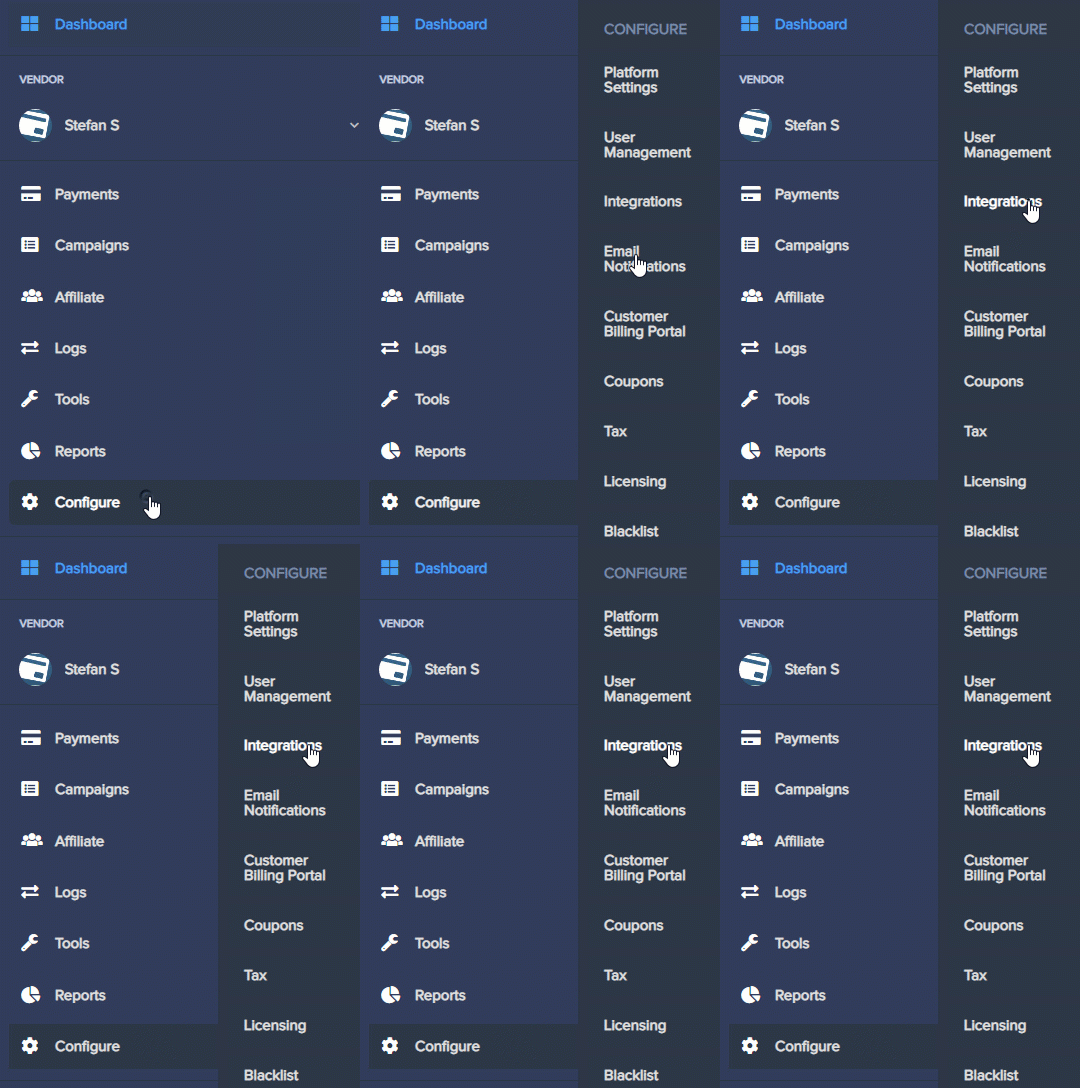
Step 2: In your Vendor Dashboard, click on Configure and select ‘Integrations’.
Step 3:
First, you’ll need to integrate on your main integration page. To do so, click on ‘Auto Responder’ at the top of this page, then, Click ‘Add an Email Integration’.
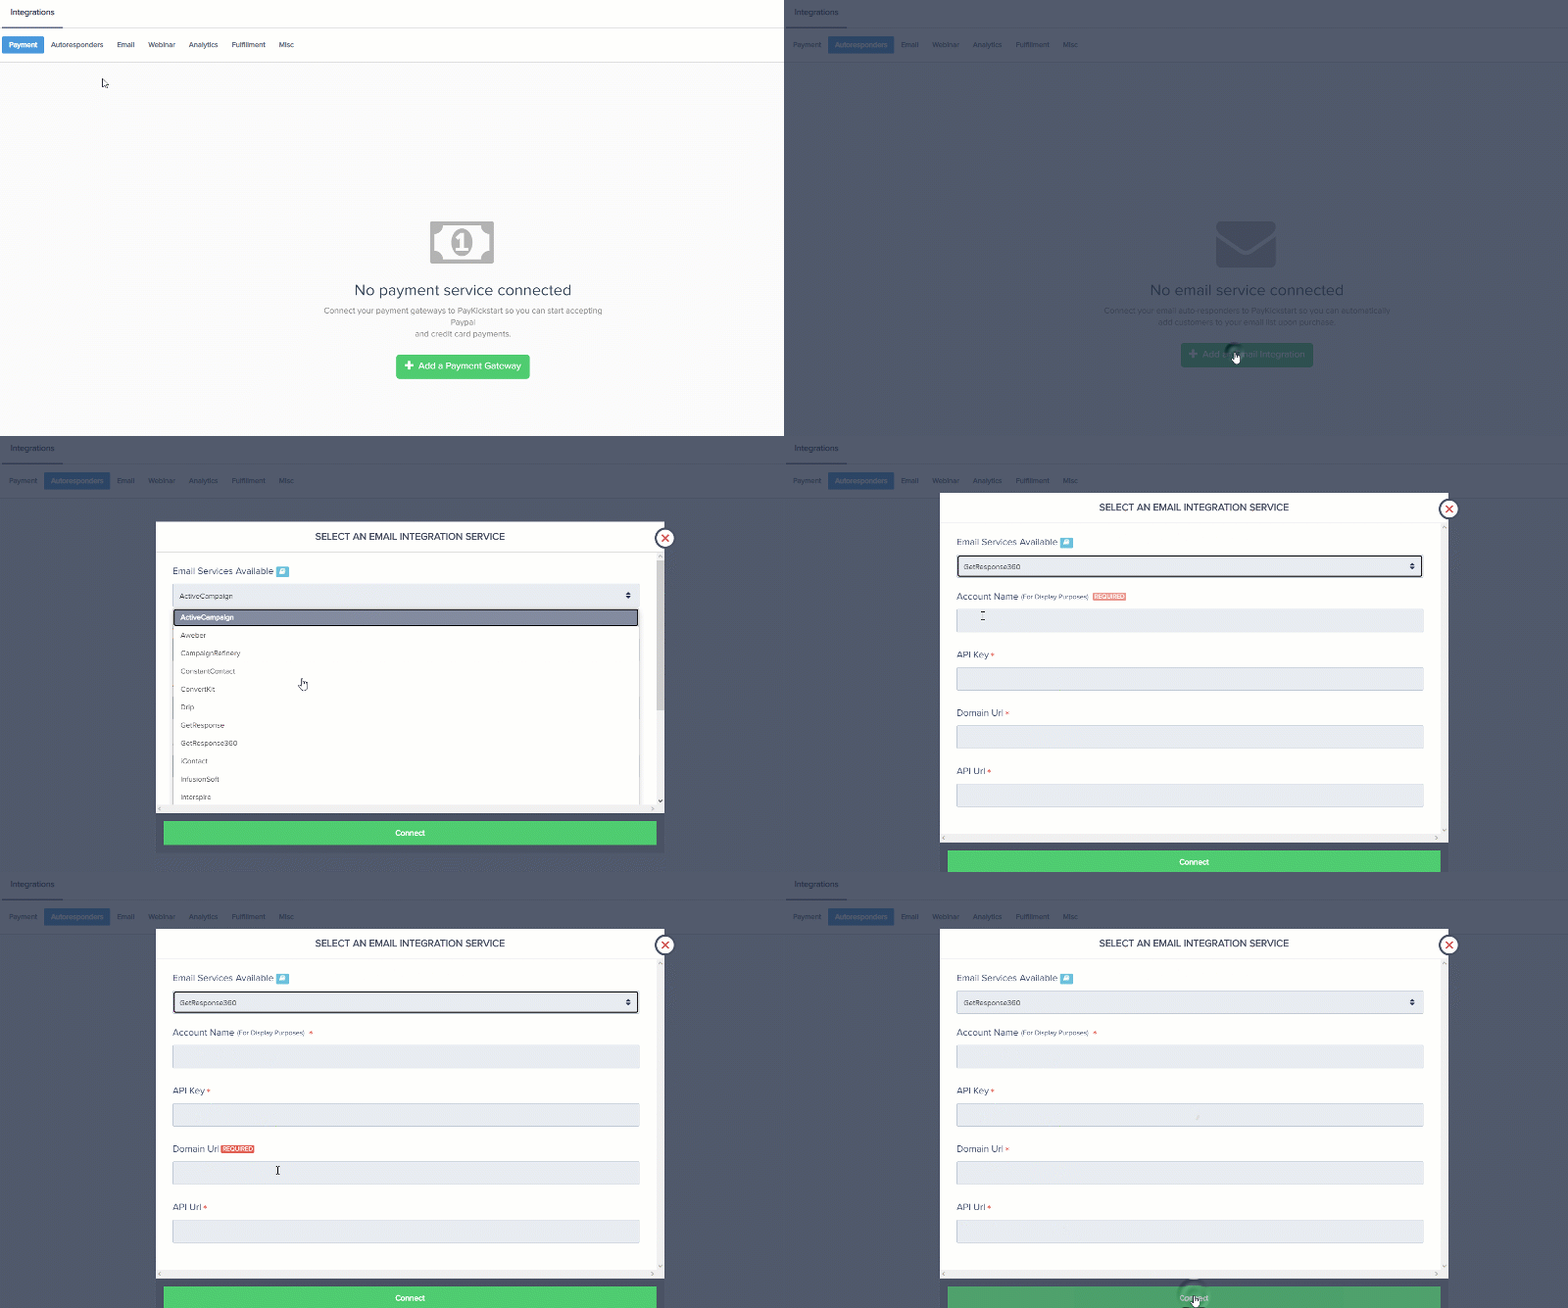
Step 4: Choose ‘GetResponse 360’ on the dropdown menu for ‘Email Services Available’.
Step 5: Log in to your GetResponse 360 account.
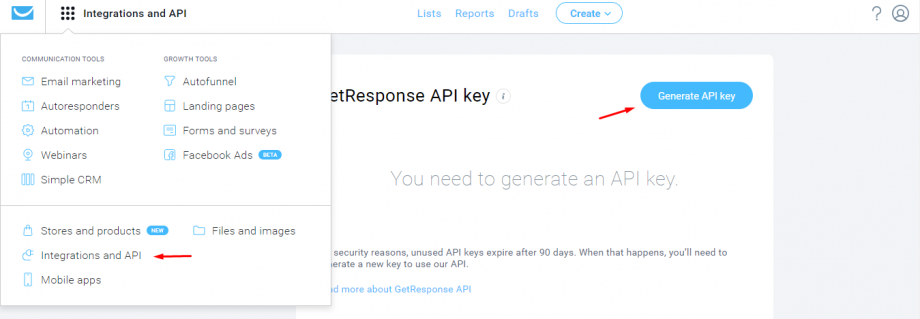
You can find your API key under Menu > Integrations and API:
Step 6: Enter your API URL provided by your account manager, and the Domain URL that your GR360 installation is at (where you login).
Step 7: Once you’ve connected, you’ll need to go to ‘Campaigns’ on the left sidebar of your dashboard. Here, you’ll see your campaigns listed. Choose the PRODUCT that you want to integrate Get Response with and select “edit product settings“.
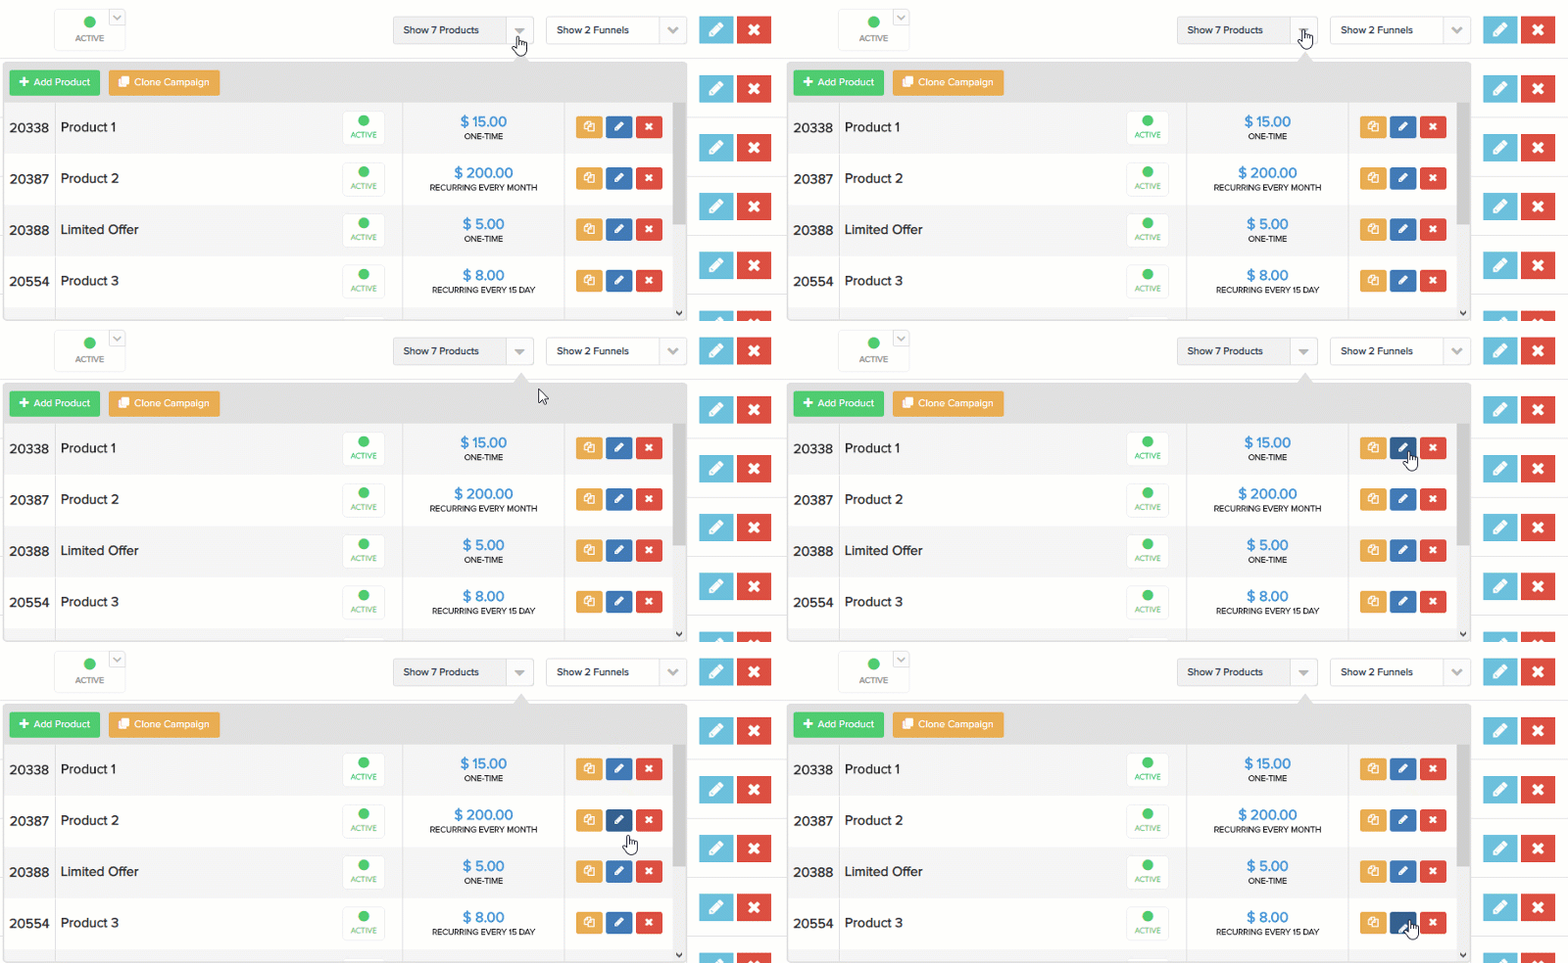
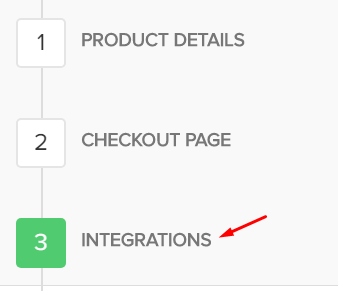
Step 8: In the Product settings, select Step 3 (Integrations) to open up your integrations information.
Step 9: In the product settings(integration section), please enable the email integration field and the action triggers you want to use for the product.

Step 10: If you’ve correctly integrated with the main area (steps 1-6 in this tutorial), then you can now select ‘GetResponse’ in the Email Integrations.
- Choose ‘GetResponse’ as your email service.
- Select your account under ‘Accounts’
- Select the list you want for this campaign under ‘lists’.
- Select ‘tags’ you want to add based on the customer action the integration is set up to trigger for
*NOTE: You may have a list for every one of your products, so you’d want to choose the list associated with the product in this particular campaign.
*Note: Vendors can pass custom checkout fields they have added to their checkout pages, to their email auto-responder (as long as the email service supports it).
Step 11: Once you have finished editing the settings, click “Save” and your product is ready to add users to your GetResponse mail lists.

Now, when a customer purchases your main offer product, they’ll automatically be added to this Get Response list that you’ve chosen.
If you have any questions about integrating GetResponse or need help, feel free to contact us at Support@PayKickstart.com
